Vendor Attribute Sets
Vendor Attribute Sets are templates used for Vendor Attributes when creating a new Vendor. The attribute set determines the fields and values available for each new Vendor in the Marketplace.
There is a default set of usual attributes out of the box, however new Vendor Attribute Sets can be created to accommodate any new Vendor Attributes required.
Navigating to Vendor Attribute Sets
-
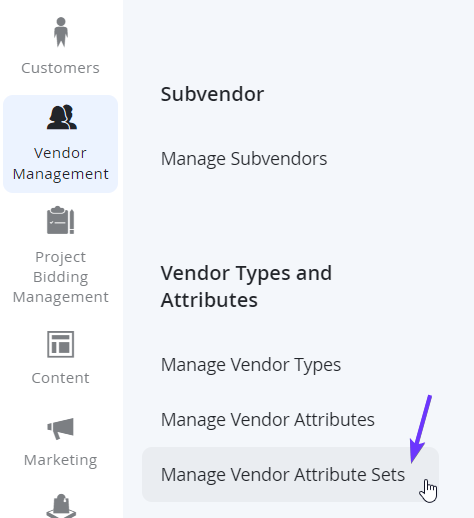
As a Marketplace Owner, log in to the Admin Portal and from the left admin menu, navigate to Vendor Management > Vendor Type > Vendor Attribute Sets.
-
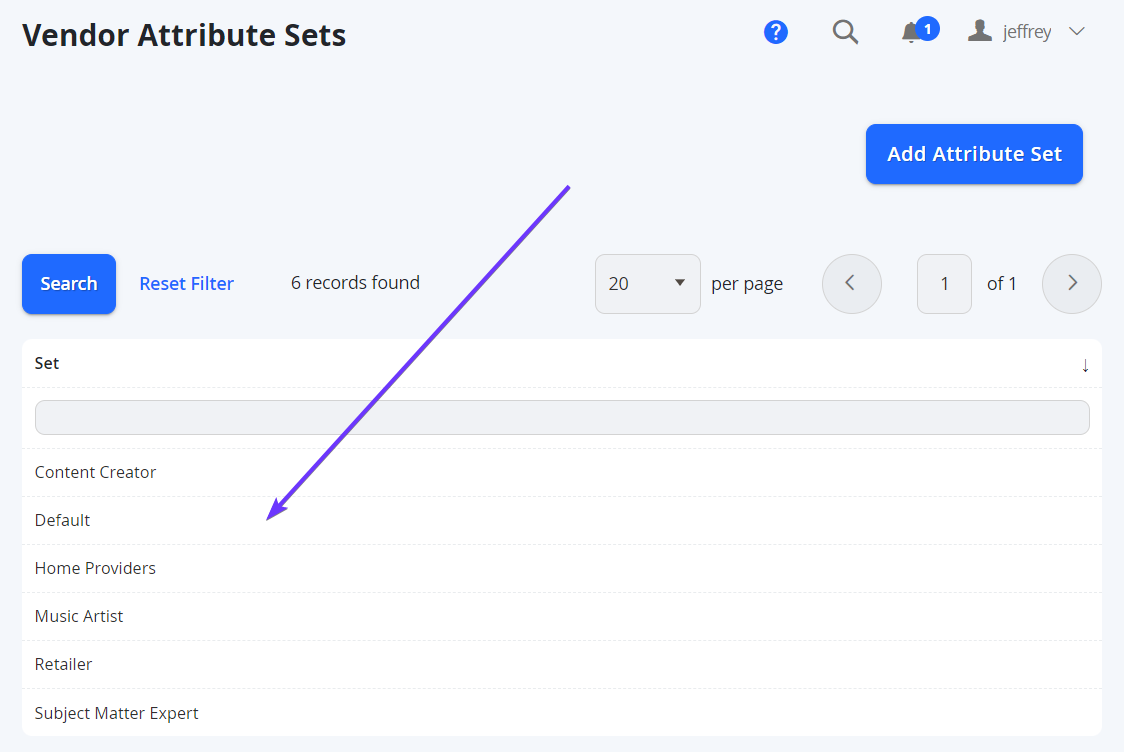
Here you can select any of the existing Vendor Attributes from the list to edit/manage.
Creating a New Attribute Set
-
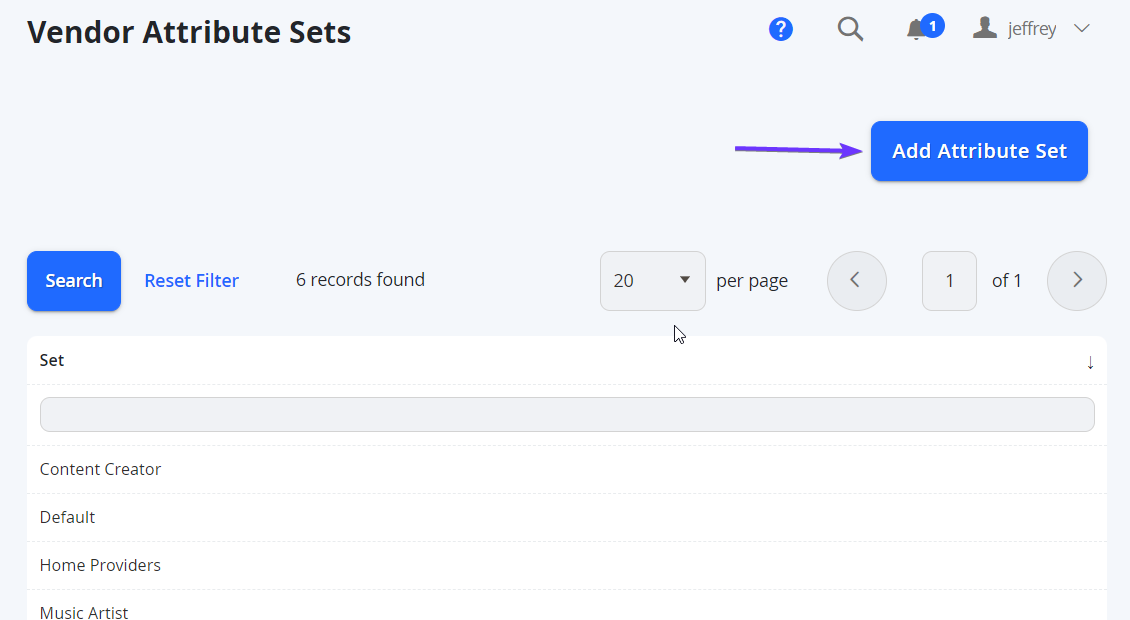
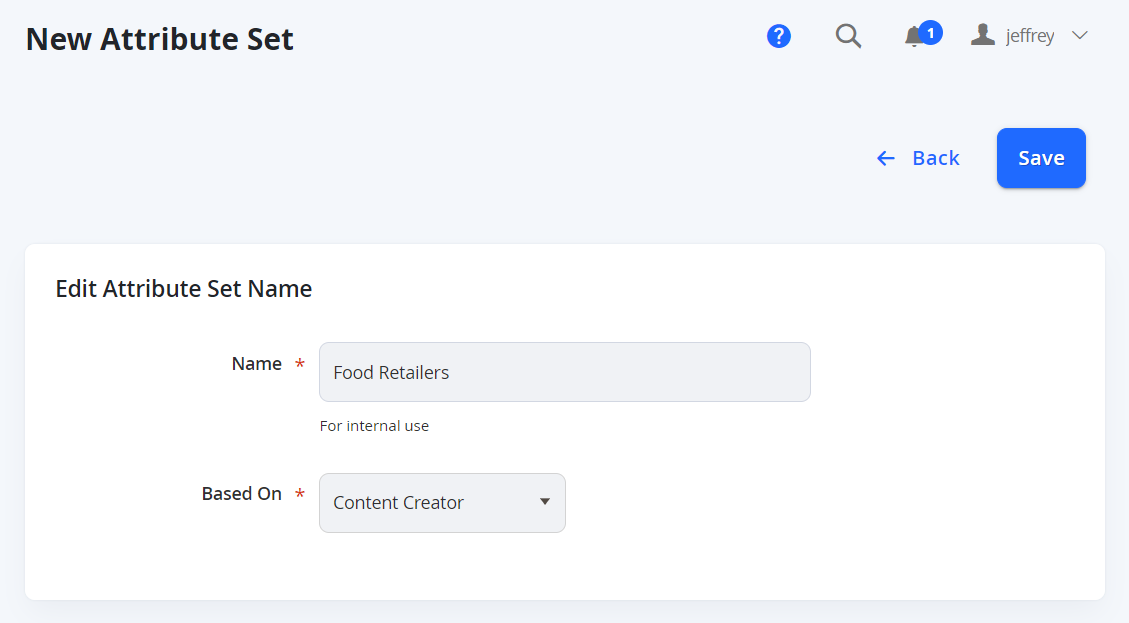
As a Marketplace Owner in the Admin Portal, from the top right of the Vendor Attribute Sets page, you will see a button for Add New Attribute Set.
-
From here you can enter a Name for the New Attribute Set. You can change the name after. Based On uses an existing Attribute Set as a template to base the new set on, and it will make it easier to create this new set.
-
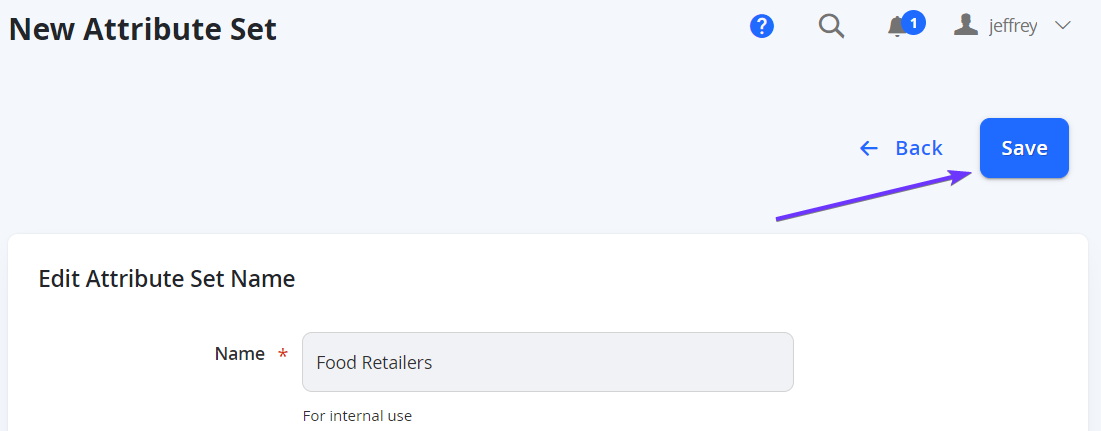
Select Save from the top right to continue.
-
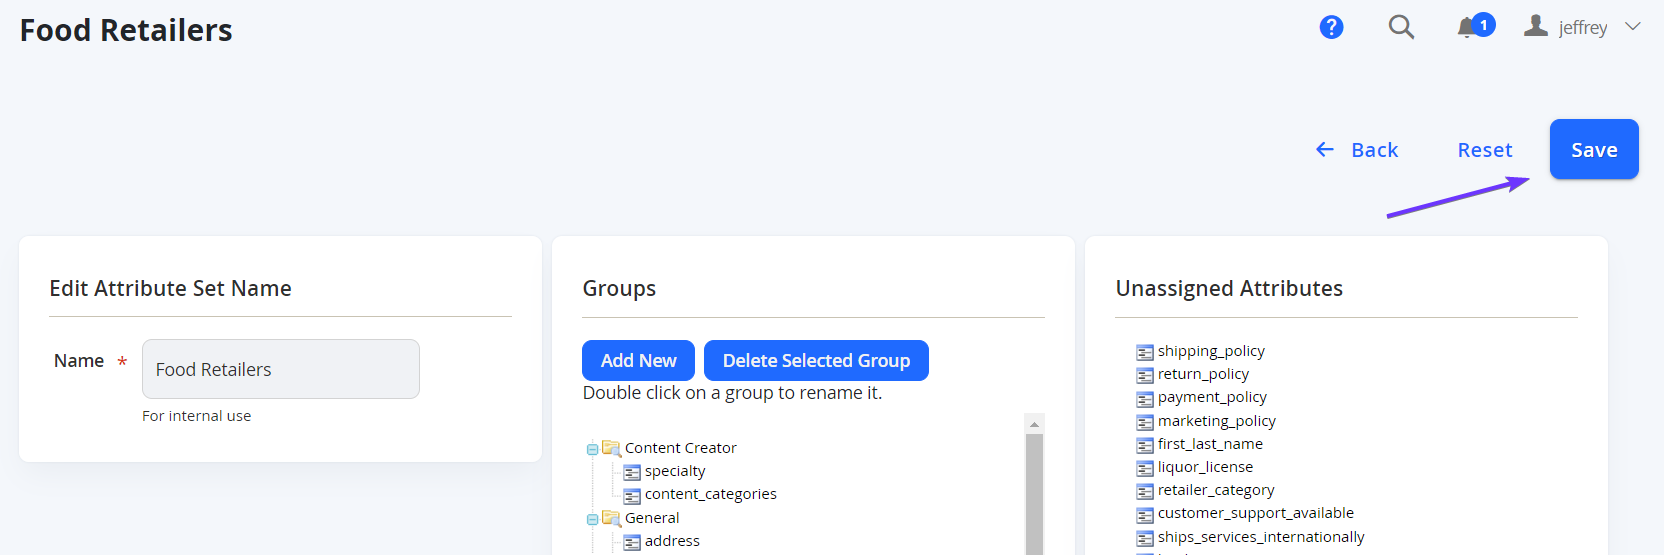
The next step allows you to manage the attributes to include for this set.
Managing Attributes in an Attribute Set
-
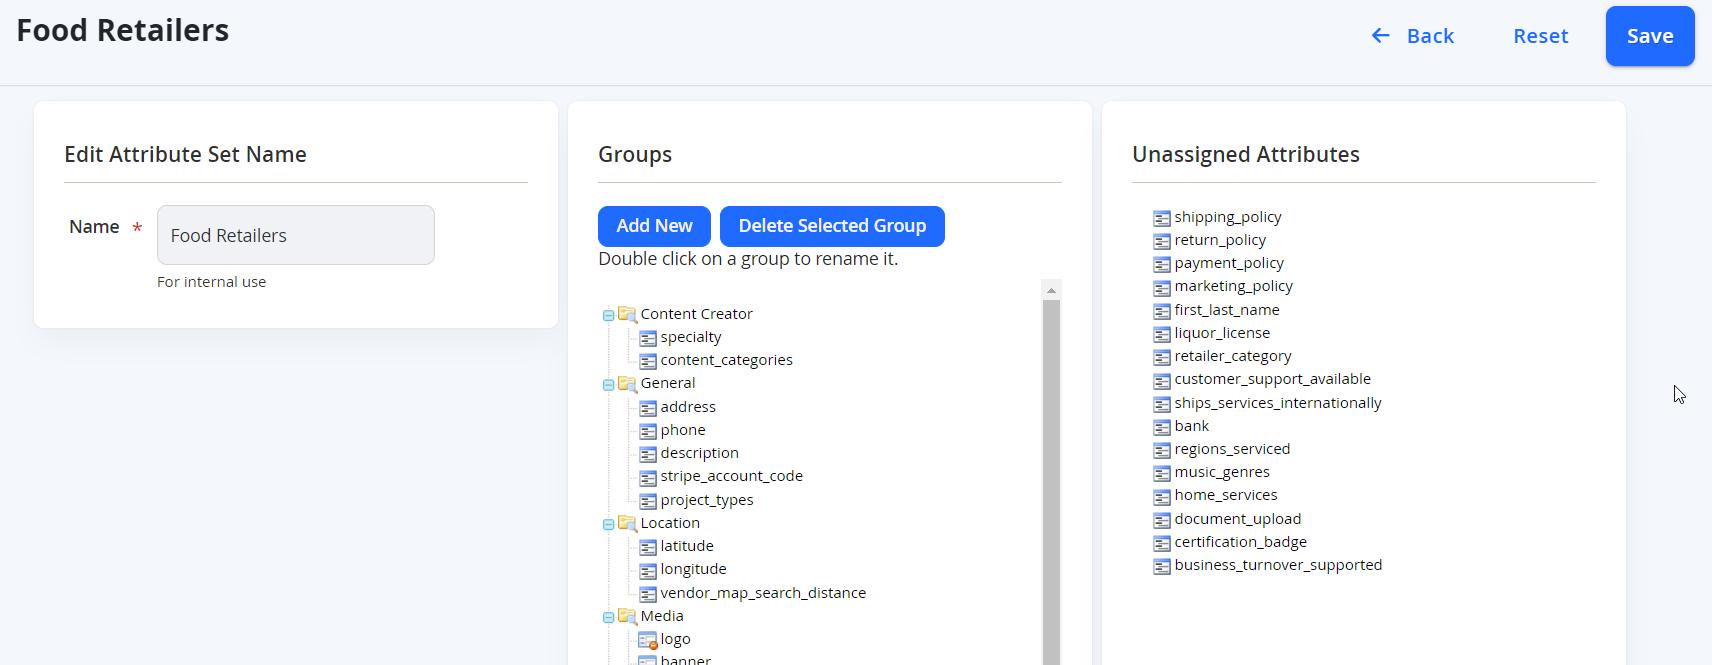
When editing an existing or new Attribute Set, you will see 3 columns.
-
The left column includes the name of the attribute set which can be edited.
-
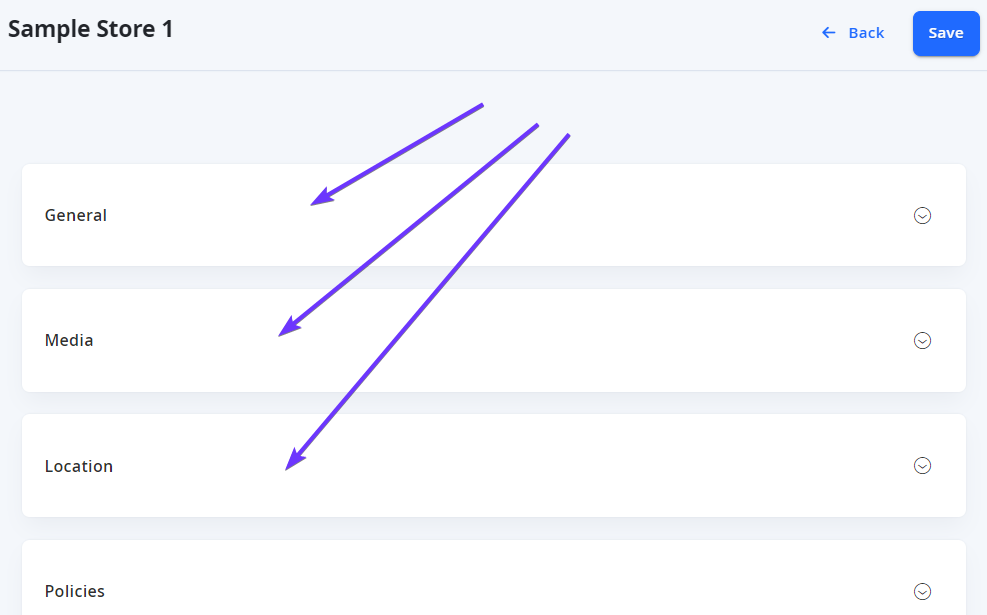
The middle column includes a list of attributes already applied to the set. These attributes are assorted into groups (essentially categories). You will see how this looks in the Vendor Storefront page.
NOTE: When creating a new Vendor Attribute Set, the attributes in the middle will be a replica of the Attribute Set you selected in the previous step for Based On. -
The right column includes a list of attributes unused by this set.
-
-
You can drag and drop from one list to the other (middle and right) to add or remove Attributes from the set. You can also organise them in Groups. The groups dictate how the attributes will be ordered for Vendors to populate in the Frontend Store View.
NOTE: Some attributes that have already been used or system created attributes may not be removed.
-
When you have completed editing the attribute set, select Save from the top right.