4. Manage Vendor Frontend Store View
After completing the profile, Vendors can then define their store details. All the information that customers will see when viewing the Vendor's Store Page on the front end will be defined in this step. This can be populated by the Marketplace Owner and Vendor.
Managing the Frontend Store View
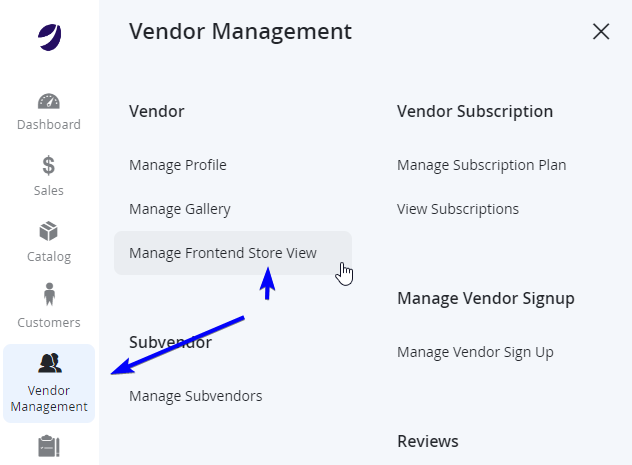
- Log in to Admin Portal. From the left menu, navigate to Vendor Management > Business and Location > Vendor Frontend Store View.
- Find the Vendor from the grid that you would like to modify, and from the right of the table, click on Edit.
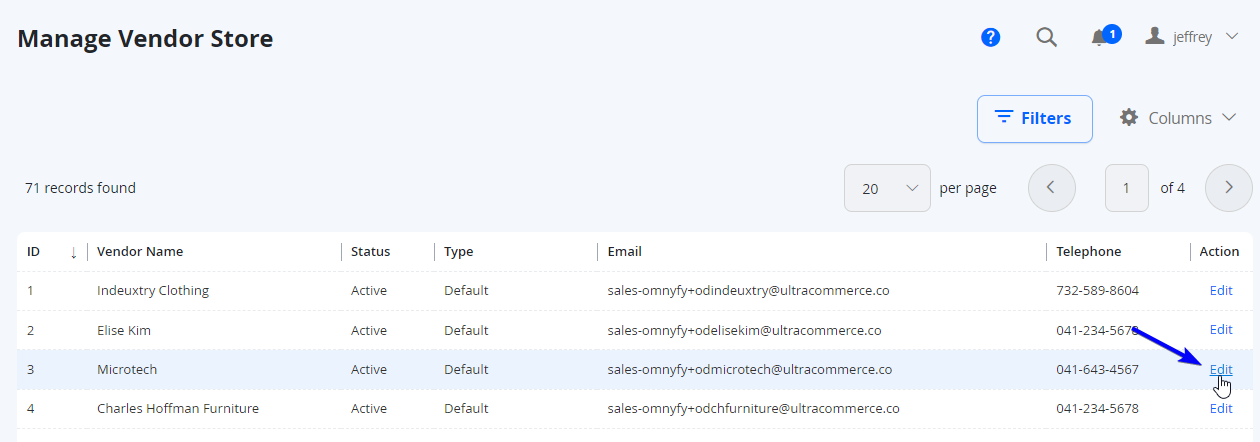
NOTE:If you are logged in as a vendor, you will only be able to see your own vendor. If you are logged in as a marketplace owner, you can see all vendors.
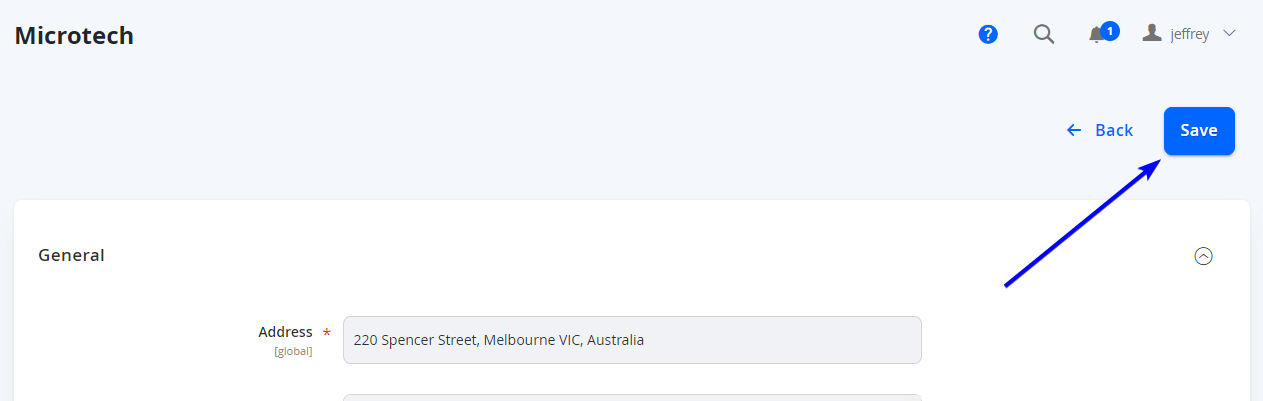
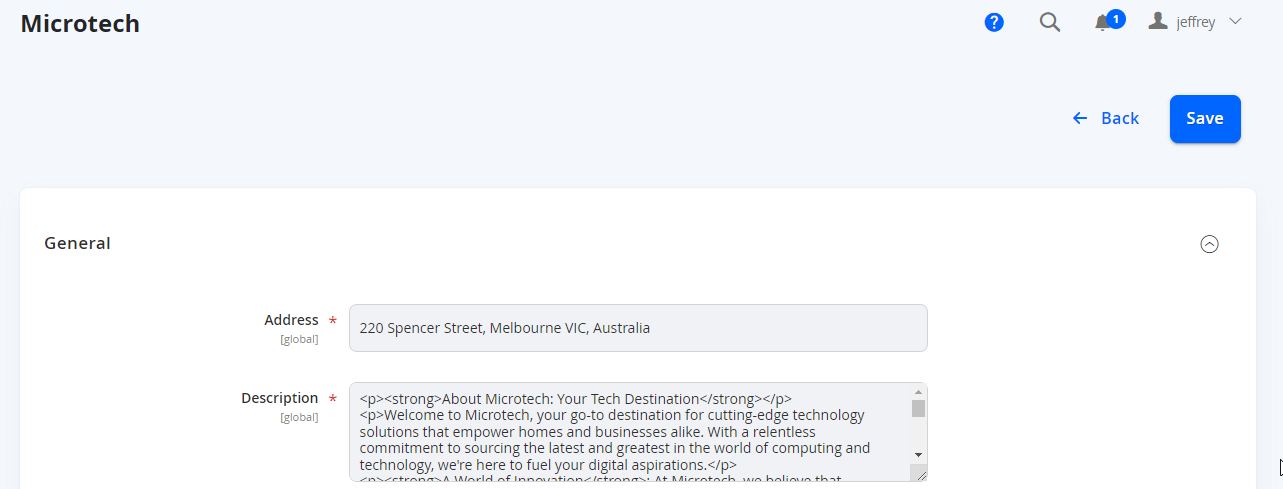
- Enter the information needed (some fields are mandatory). Main address, phone and description will contain the details provided by the vendor during the sign up process.
NOTE:The attributes shown on this page will depend on the Vendor Type of this Vendor.
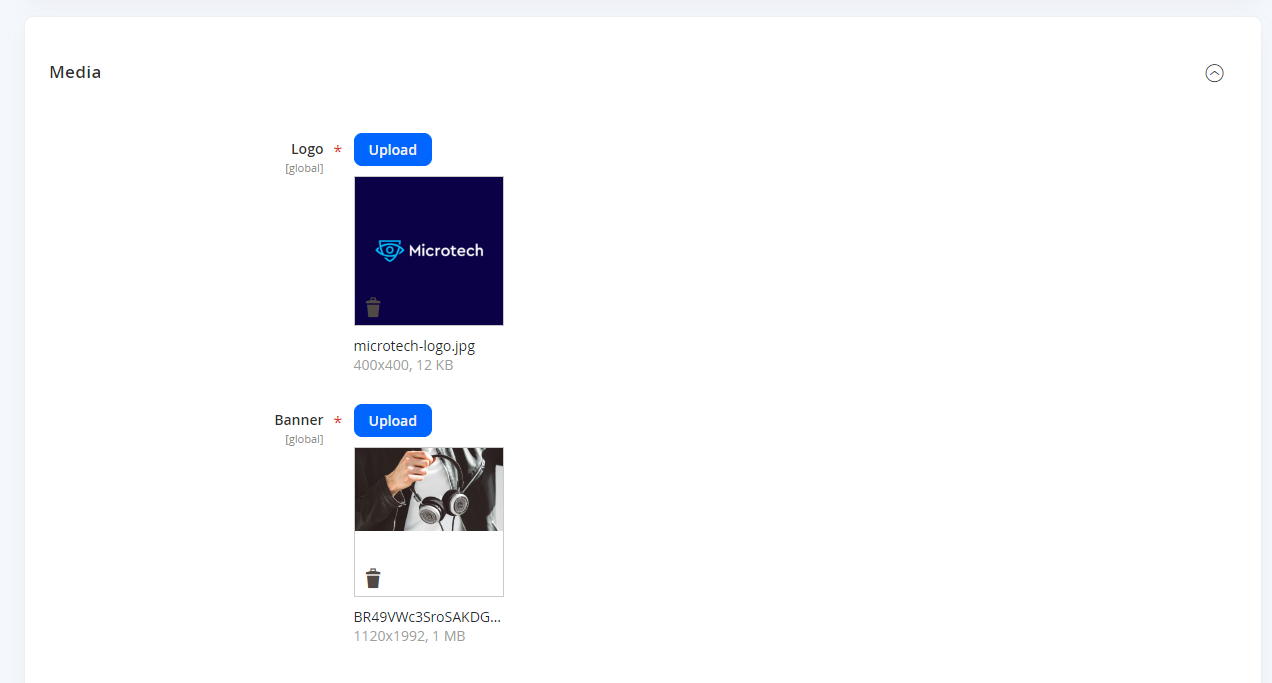
- Upload the Logo and the Banner for the store by clicking Upload. These images are also mandatory to complete this step.
- Continue to populate the other attributes as required.
- When completed, select Save from the top right of the page.