Fuse UI - General Settings
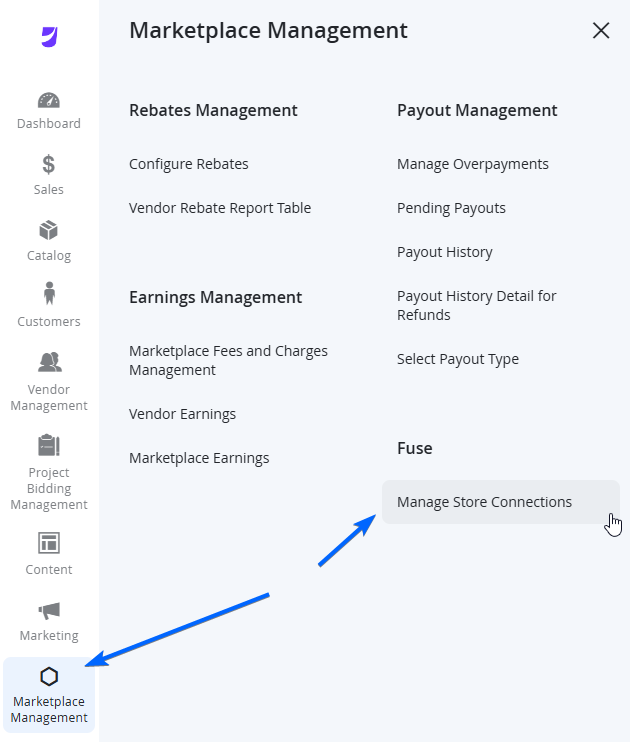
To modify general information for a Vendor's connection, navigate to the Vendor's row in the Manage Store Connections page and from the Actions column to the right of the grid, choose Select > General Settings.
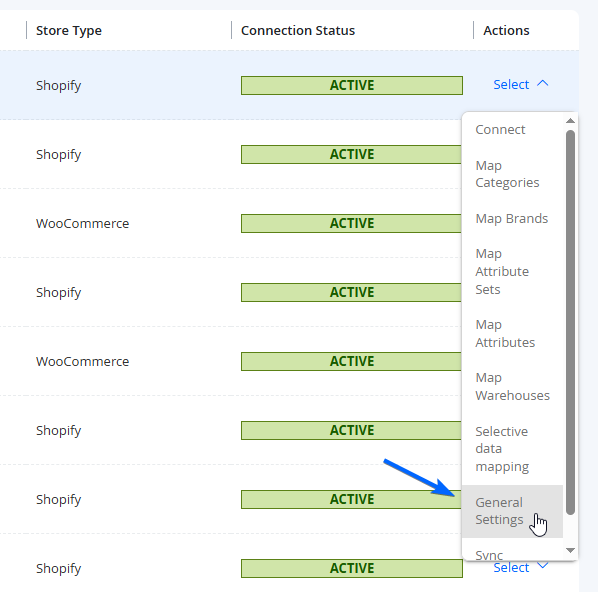
If the Vendor is connected successfully, you will see some options for you to manage the Vendor's connected store import settings.
| Field Name | Notes |
|---|---|
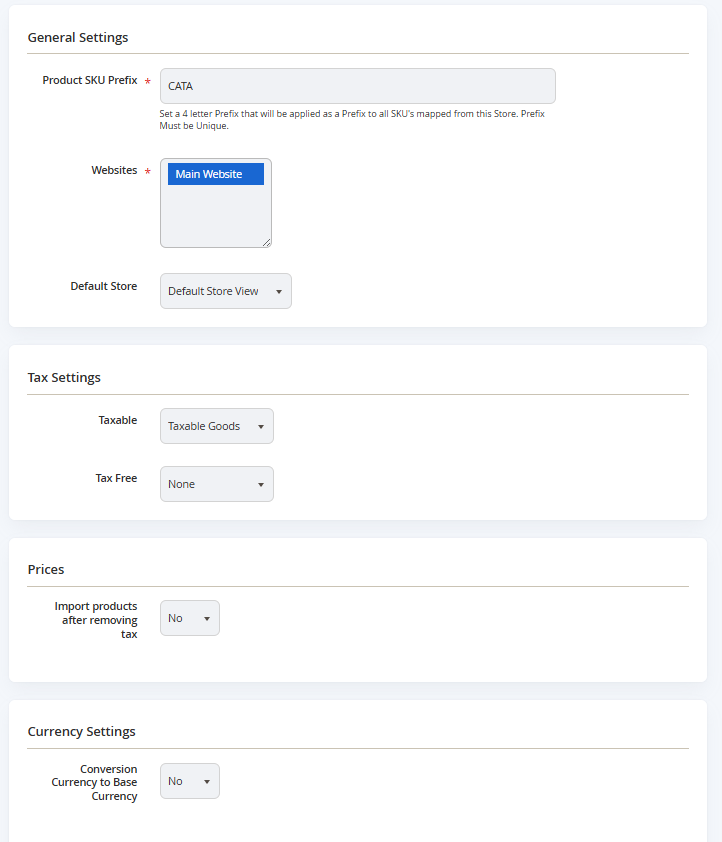
| General Settings | |
| Product SKU Prefix | Set a 4 letter Prefix that will be applied as a Prefix to all SKU's imported from this Vendor's Connected Store. Prefix Must be Unique from other Vendors. |
| Websites | Set the Marketplace/Website that imported Products will belong in. |
| Default Store (will be discontinued in future release) | Set the Default Store View that these products will belong in |
| Tax Settings | |
| Taxable | Set this to the default tax category from the Marketplace for taxable Products. |
| Tax Free | Set this to the default tax category from the Marketplace for non-taxable Products. |
| Prices | |
| Import products after removing tax | Set to Yes if products should be imported with prices excluding tax. |
| Tax Amount | Only appears if Import products after removing tax is set to Yes. This will allow you to dictate the percentage of the tax to be removed from the products, if your prices already include tax. |
| Currency Settings | |
| Convert Currency to Base Currency | Choose Yes if the Connected Store's Product Price Currency is not the same as the Marketplace Product Price currency, and that you wish to convert the values to match. |
| Vendor Store Currency | Set the Currency of the Connected Store |
| Conversion Rate to Base Currency | Sets the Conversion Rate to Base Currency. NOTE: Updating the Conversion Rate and re-syncing all product prices will take a significant time and will impact the prices on the marketplace. Please provide up to 48 hours for all prices to be updated depending on the number of products |
| Conversion Rate (Display only) | This will display an example currency based on the Conversion Rate value from Conversion Rate to Base Currency. |
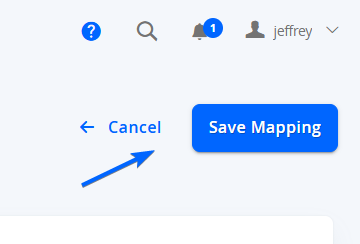
When configuration or actions are complete, select Save Mapping on the top right of the page to go back to the Manage Store Connections page. Selecting <- Cancel will not save any changes and take you back to the previous page.