Creating Simple Products
A simple product is a physical item with a single SKU. Simple products have a variety of pricing and of input controls which makes it possible to sell variations of the product, however variation products are typically tailored under Configurable Products. Simple products can be used in association with Grouped, Bundle, and Configurable Products.
Navigating to the Product Creation Page
From the Product Grid (Catalog > Inventory > Products), select the button Add Product from the top right.

A page will open with a wide range of attributes to edit for the product.
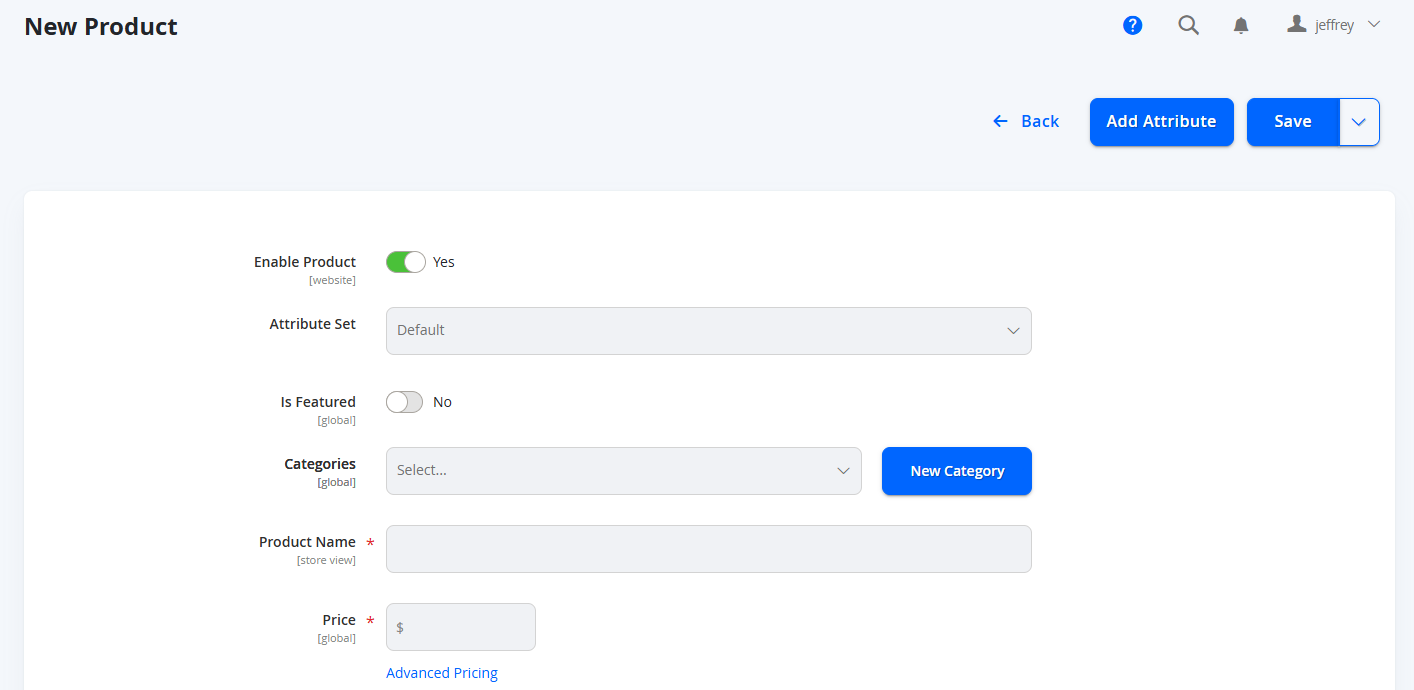
Product Details
The Product Attributes that appear here will be based off the Product Attribute Sets by default. This is an option to select in the list, however we can cover the basic attributes. The scopes will be based on the Product Attribute configuration.
General
These are some of the most common fields to use.
| Attributes | Notes |
|---|---|
| Enable Product | Select to enable or disable the product. |
| Attribute Set | Select the Product Attribute Set to load the specific Product Attributes to populate. |
| Product Name | Set the name of the product. |
| SKU | Generally the SKU will be created from the name, however each vendor should have a unique identifier that includes either their Vendor ID or initials of their vendor name at the start - so that it does not match any other potential vendor (otherwise it will just be serialised). NOTE: When products are imported through Fuse, the SKU will include the Vendor's Prefix code |
| Price | Enter the price of the single product. |
| Tax Class | Select between Taxable Goods, None, or if you have your own custom Tax Class. Change all the other necessary attributes available. Attributes may change depending on the attributes set. |
| Weight | Set the weight of the product and the unit of weight. NOTE: This MUST include a value. If it does not contain weight, this will revert into a Virtual Product and will not be shippable. |
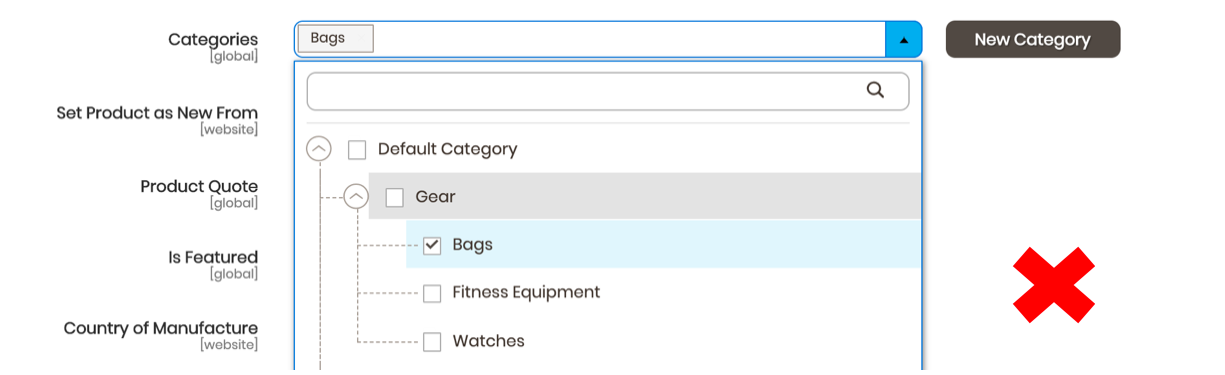
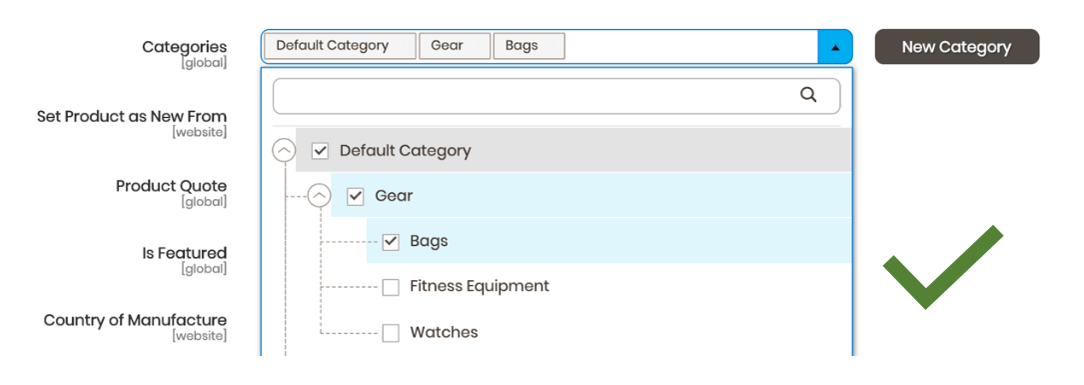
| Categories | Assign a category for the product. NOTE: When assigning a subcategory, all the parents categories need to be marked as well for it to appear in higher levels.
|
Other fields are optional.
Sources
Inventory is managed through the Sources (locations). A source must first be assigned for the product.
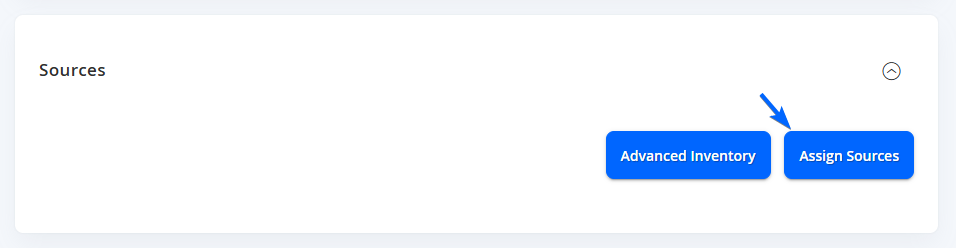
You can select from all available sources (Vendors will only be able to see/select their own sources).
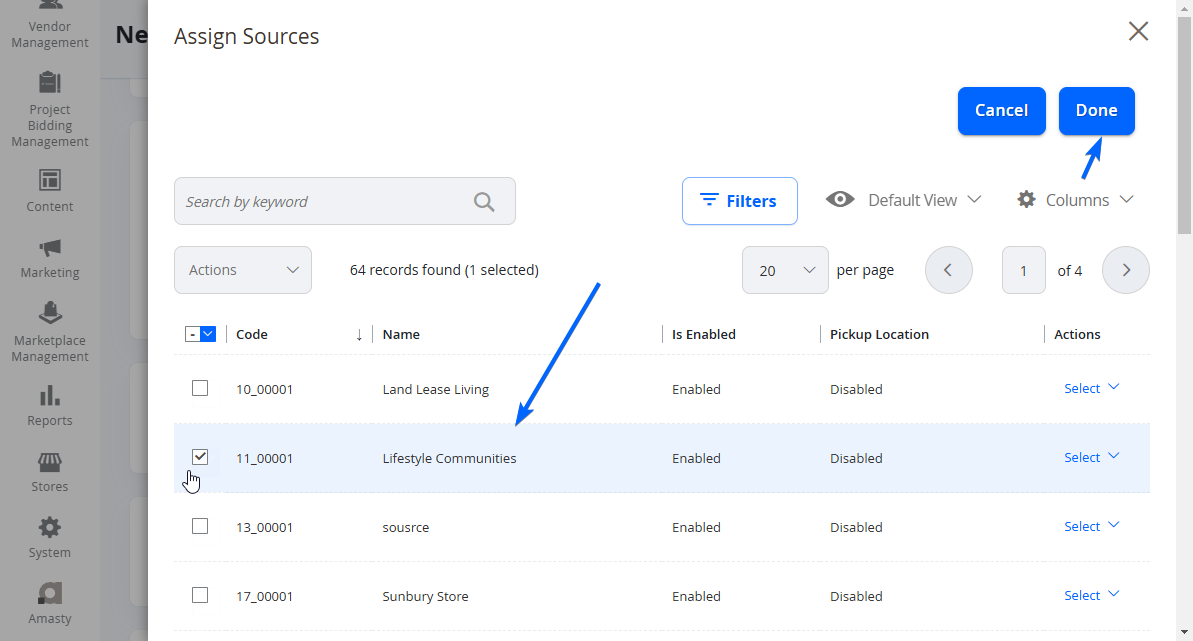
Once a source is selected, select Done from the top right of the page. The source will appear in the product detail page and you can insert the quantity of products here.
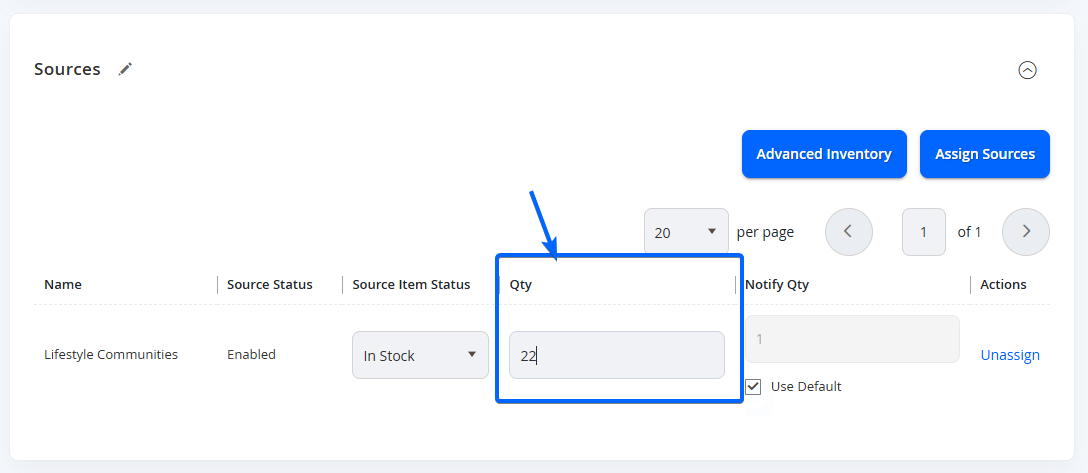
The basic inventory fields are as follows:
| Field Name | Notes |
|---|---|
| Name | This is the name of the source assigned |
| Source Status | This is the status of the source assigned |
| Source Item Status | This is the stock status of the product. This can be set to In Stock or Out of Stock. By default, when the Qty reaches 0 saleable quantity, the product will be set to Out of Stock, however this can be set at the Advanced Inventory. Usually Out of Stock products are configured to not display on the Front End for customers. |
| Qty | Insert the number of saleable quantity for the product. |
| Notify Qty | This can be ignored as it is not used. |
| Actions | You can choose to Unassign a source selected. |
To control the Advanced Inventory, you can select the Advanced Inventory tab, and make necessary additions to the stock management for this product.
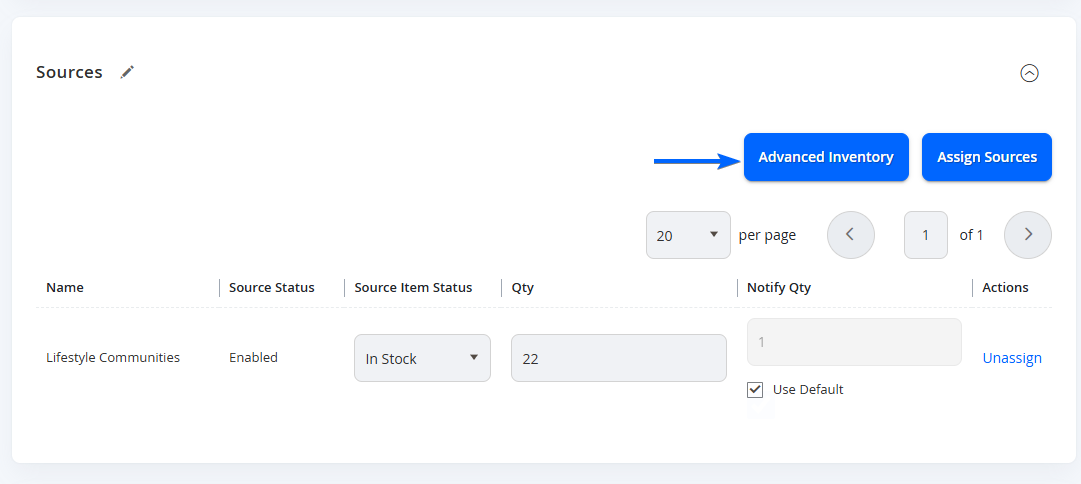
Find out more about Advanced Inventory here.
Content
In the Content section, there are 2 typical WYSIWYG fields:
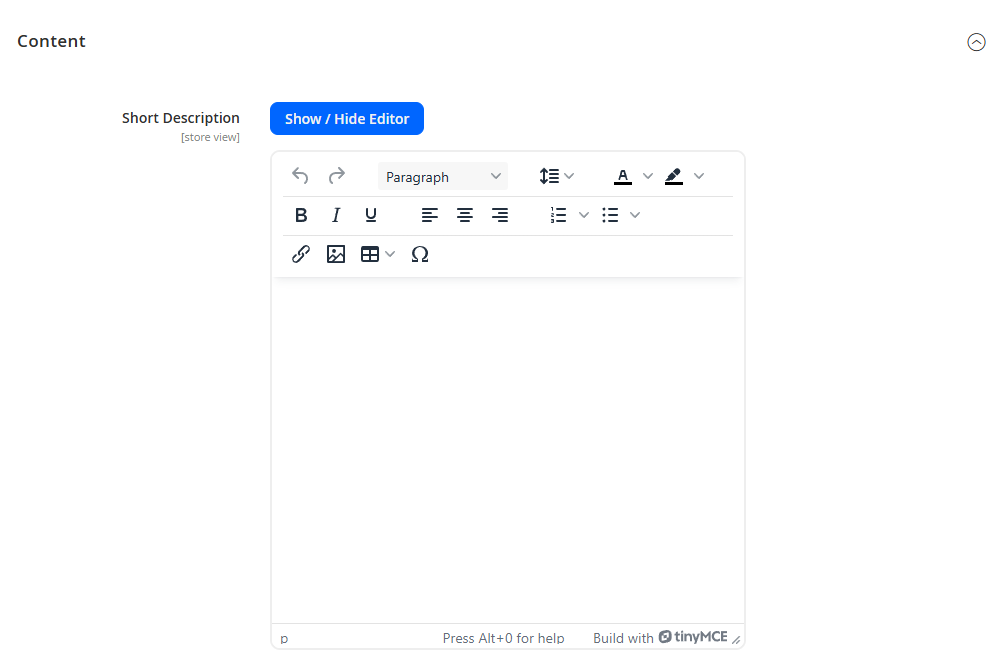
Short Description: Used typically as a way to input the short summary of the product. Depending on the design, this normally would appear under the title of the product. As indicated, this should be kept short (1-2 sentences) - the details of the product can be included in the Description.
Description: Used to add full details to the product that isn't already covered by other Product Attributes. Feel free to input all the relevant information that will help customers to make an informed decision to purchase the product.
Media
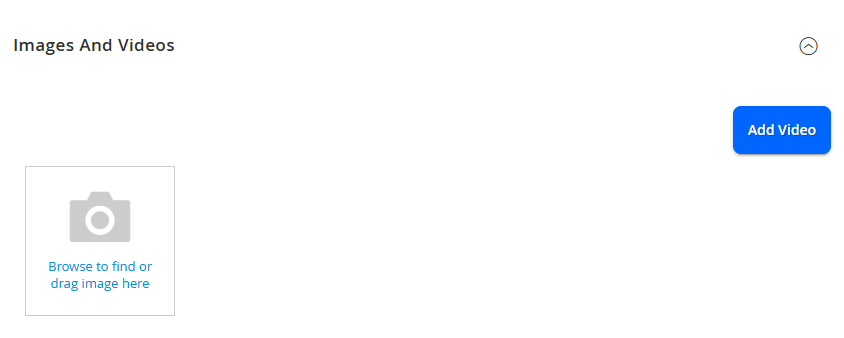
In this section, you can add images and videos to your product - a placeholder will be used until your own image is added. Click on the Browse tile to find and select one image for the product. You can insert as many as needed. You may also drag and drop one / multiple images. When adding images, the first image typically will obtain the role of Base, Small, Thumbnail, and Swatch.
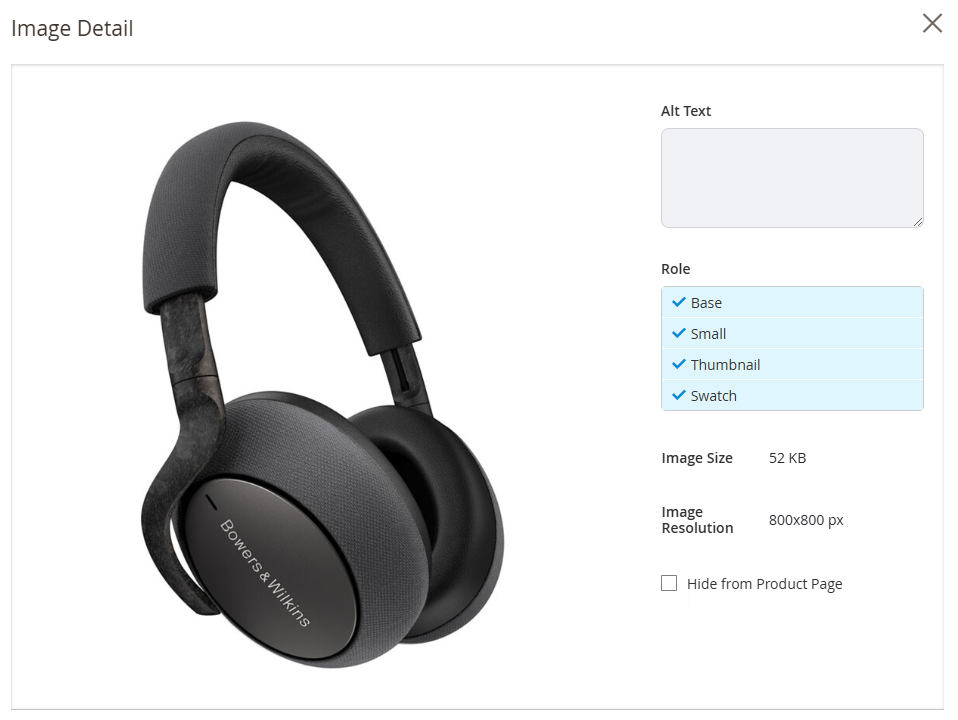
Base: The main image used and first to appear in the Product Details Page
Small: The image used when the Product Tile is displayed in Category Pages (or where Product tiles are present)
Thumbnail: The image used when the product is displayed in the mini cart / shopping cart and checkout.
Swatch: The image used when the product is used in configuration options where a swatch is displayed.
You can select this by alter this by the clicking on the image tile when uploaded.
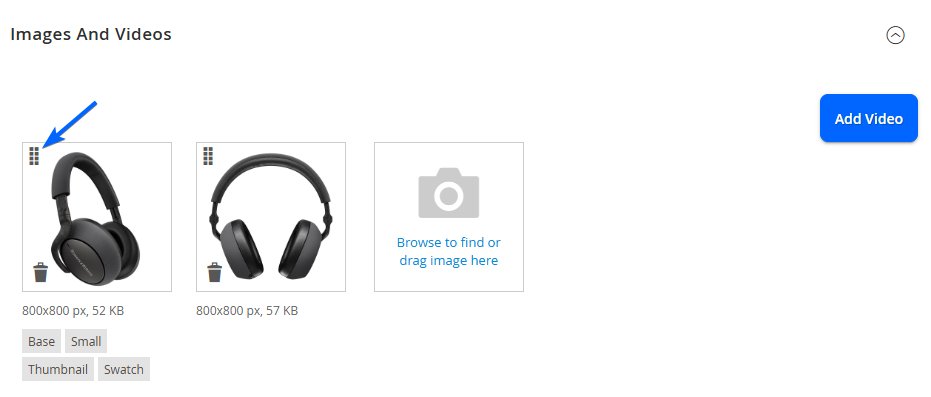
You can also reorder the images if you have multiple, by selecting and dragging the boxes from the top left of the image.
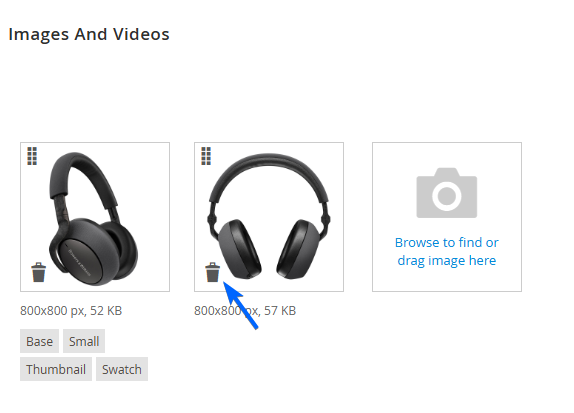
You can also remove images you uploaded by selecting the trash icon.
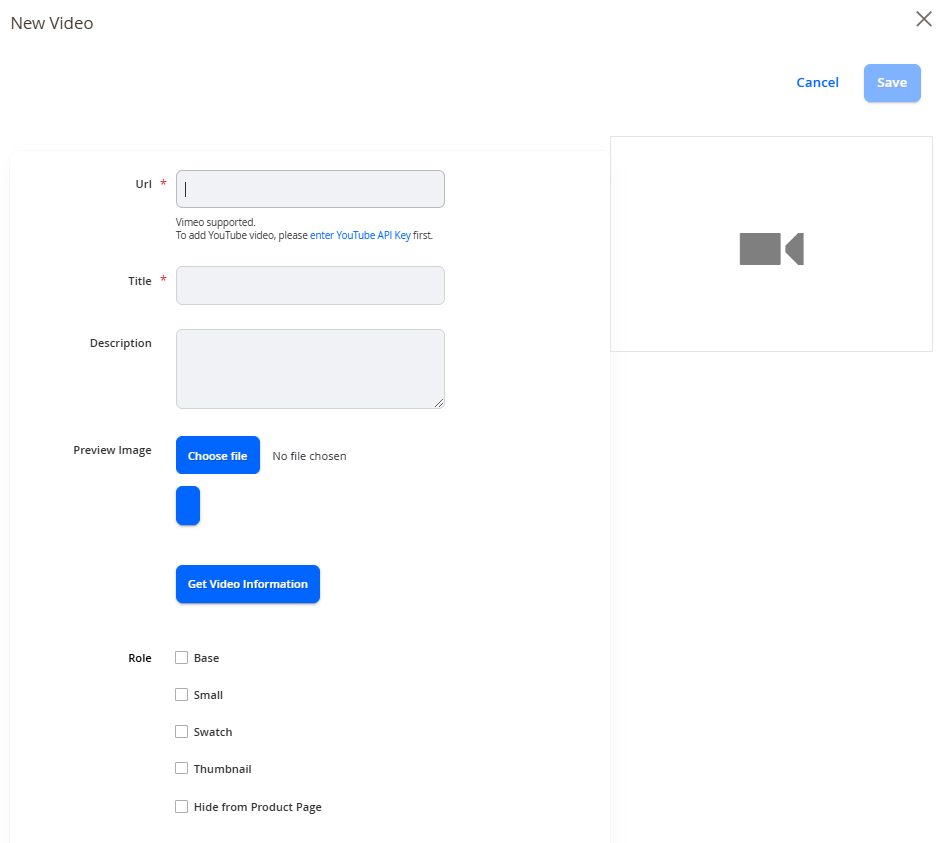
OPTIONAL: Click Add Video to insert a video for the product. Enter the information needed (URL, Title, Description, Preview Image and assign the role of the video). When complete, click Save to add the video.
Other Product Attributes
Modify the following if required.
- Configurations: Not used for Simple Products
- Request For Quote: Enable to allow Request for Quote (RFQ)
- Manage Enquiry: Enable to allow customer enquiries to the Vendor about this product (if the Enquiry feature is enabled)
- Subscriptions by Stripe: Only use this if you will be charging customers for a subscription type of product (Eg a membership). Leave blank otherwise.
- Search Engine Optimization: Insert URL Key, Meta title, Meta Keywords, Meta Description if you want to change the default configuration
- Related Products, Up-Sells, and Cross-Sells: Insert products related to the new product to appear in the marketplace. Vendors will only be able to select their own products.
- Customizable Options: These are add-ons if you would like to include any customisations (for example, choice of engraving initials, or an additional item or choice that does not impact inventory). Leave blank if not applicable.
- Product in Websites: Applicable only when multiple websites/marketplaces are available.
- Design: Leave as default.
- Schedule Design Update: Leave as default.
- Gift Options: Leave as default:
- RMA: Enable or disable the ability for a customer to request for a refund for this product using the standard RMA process on the Marketplace.
- Vendor Information: Relevant only to the Marketplace Owner and typically only used when assigning a product to a vendor. Vendors creating their products in the Admin Portal will automatically have the Product assigned to them.
- Downloadable Information: Not used for Simple Products
Saving the Product
When the product information is complete / updated, select Save from the top right of the page.
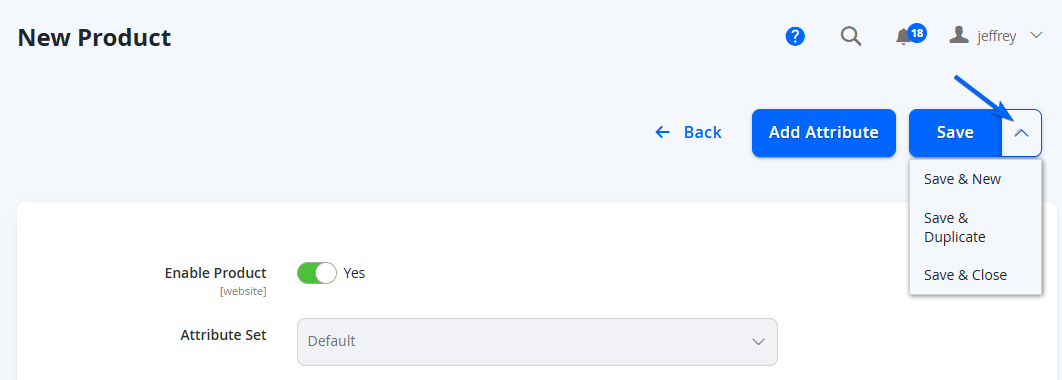
There are a few options on the right dropdown too if needed.