3a. Vendor KYC - Stripe Approval Process
Introduction
The Marketplace uses Stripe Connect for vendor registration and KYC processing (when using Stripe Payouts).
Once you've onboarded a Vendor through the Vendor Signup and Approval processes, the Vendor can then sign in to the marketplace and get themselves setup with Stripe so that they can receive payments through the marketplace. Only the Vendor may link their Stripe account, the Marketplace Owner cannot do this on their behalf as it requires Business Details and verification.
NOTE:Vendors cannot use existing Stripe Accounts to perform the KYC process (this is a limitation from Stripe). If they already have an account with Stripe, they will need to create another account with a different e-mail to be used for the Marketplace. This can be achieved with using an alias email for the existing email account (so all notifications can go to the same inbox), creating a new email address or using another existing address.
Before continuing the KYC process for Stripe, the Vendor will need to be logged out of Stripe with their existing account if they already have one.
The following steps illustrate the Stripe KYC and registration process for Vendors on your marketplace.
Launching the Stripe Registration
As a Vendor, once you've logged in to your marketplace Vendor Portal, navigate to Vendor Management > Vendor Profile and click on Edit.
When your profile, select the Payout and Banking tab on the left.
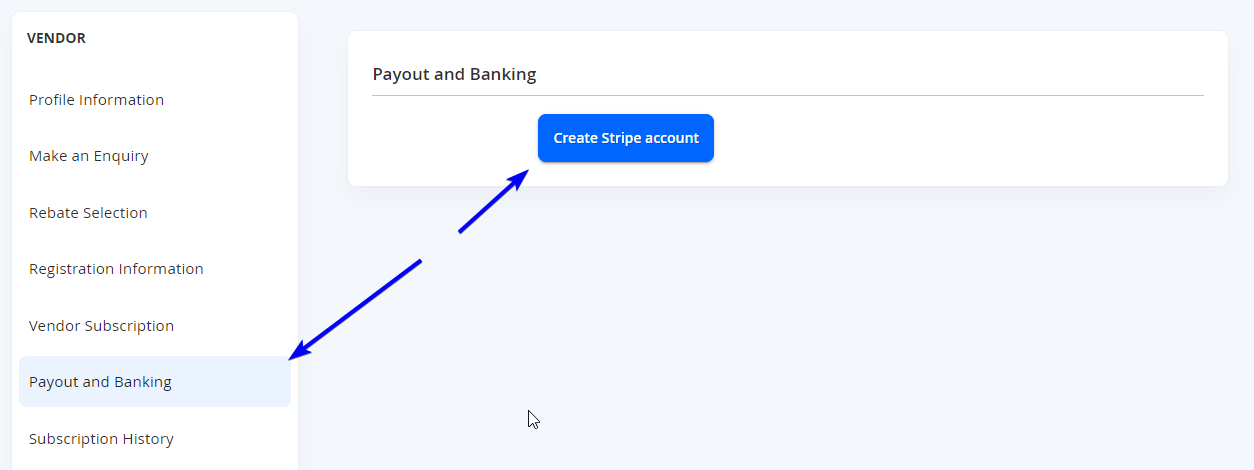
Select the Create Stripe account button to launch the Stripe Registration.
NOTE:Please note that you should not log out or close the Marketplace Portal window during this time and it should always remain open and you should be logged in to complete the registration process.
Registering your Vendor Store on Stripe for the Marketplace
It is important to remember that Stripe KYC approval is a pre-requisite to receiving payments from orders on the Marketplace. Therefore, vendors will need to ensure that the information entered is accurate and verifiable information during this process.
NOTE:The screenshots are taken on an account on TEST MODE. This will not show when using your live Stripe account.
Contact Information
Once Stripe loads the page, the following information will be required.
- Phone Number
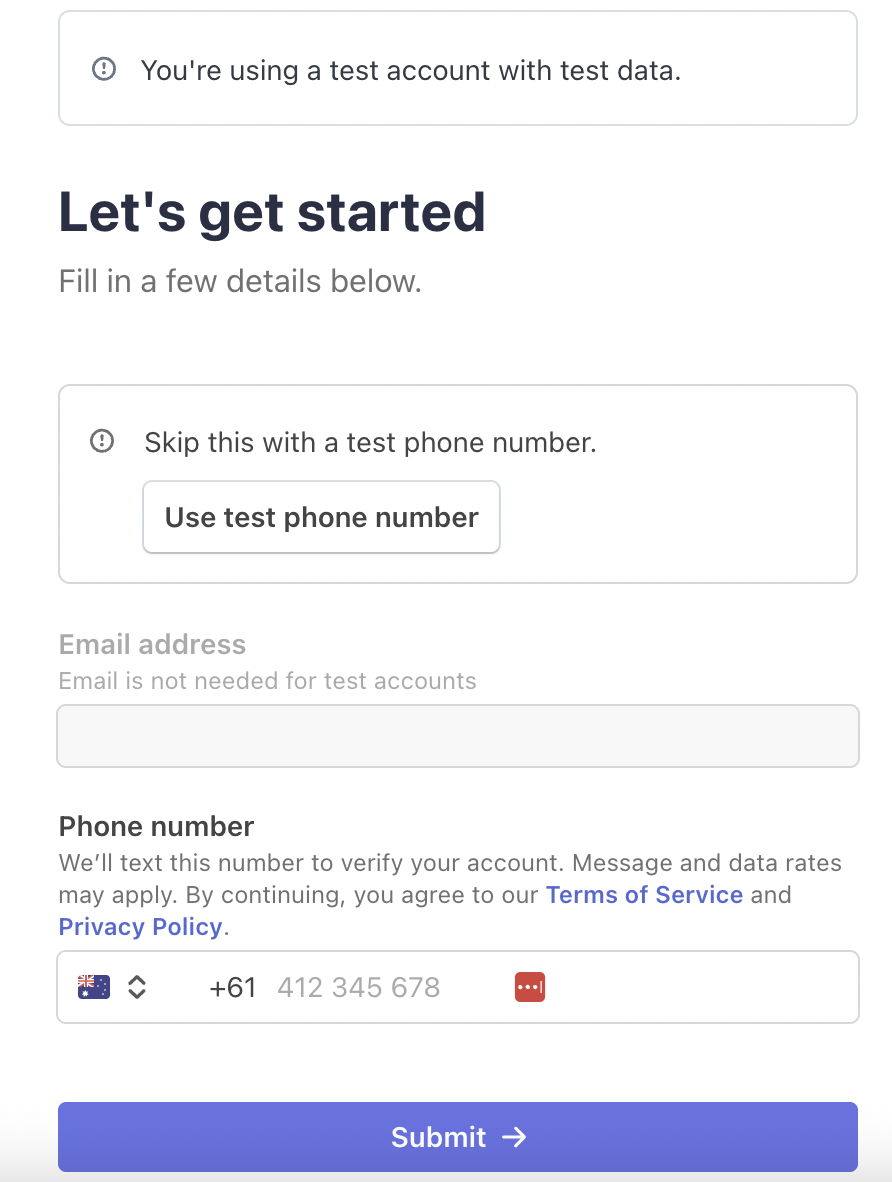
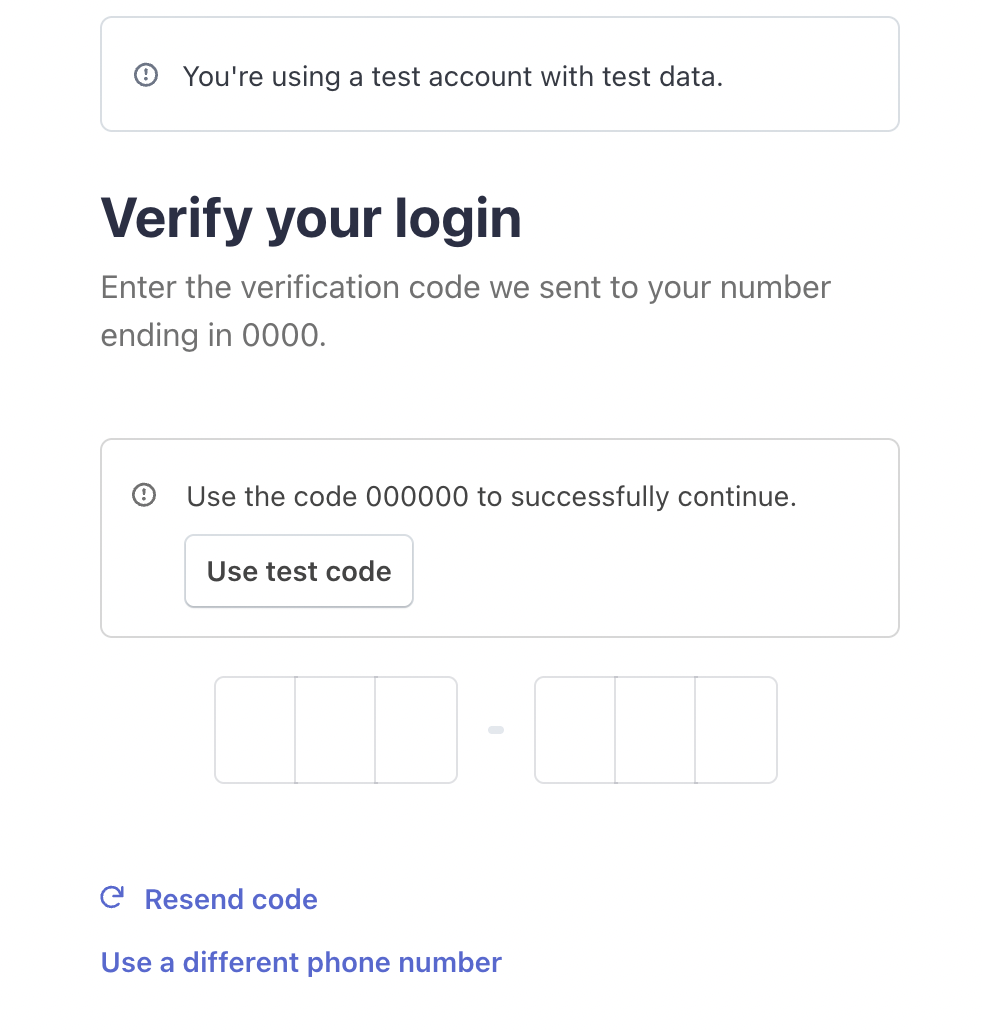
This will be used for authenticating the contact details on the next screen - so ensure you have access to both email and phone number message just in case..
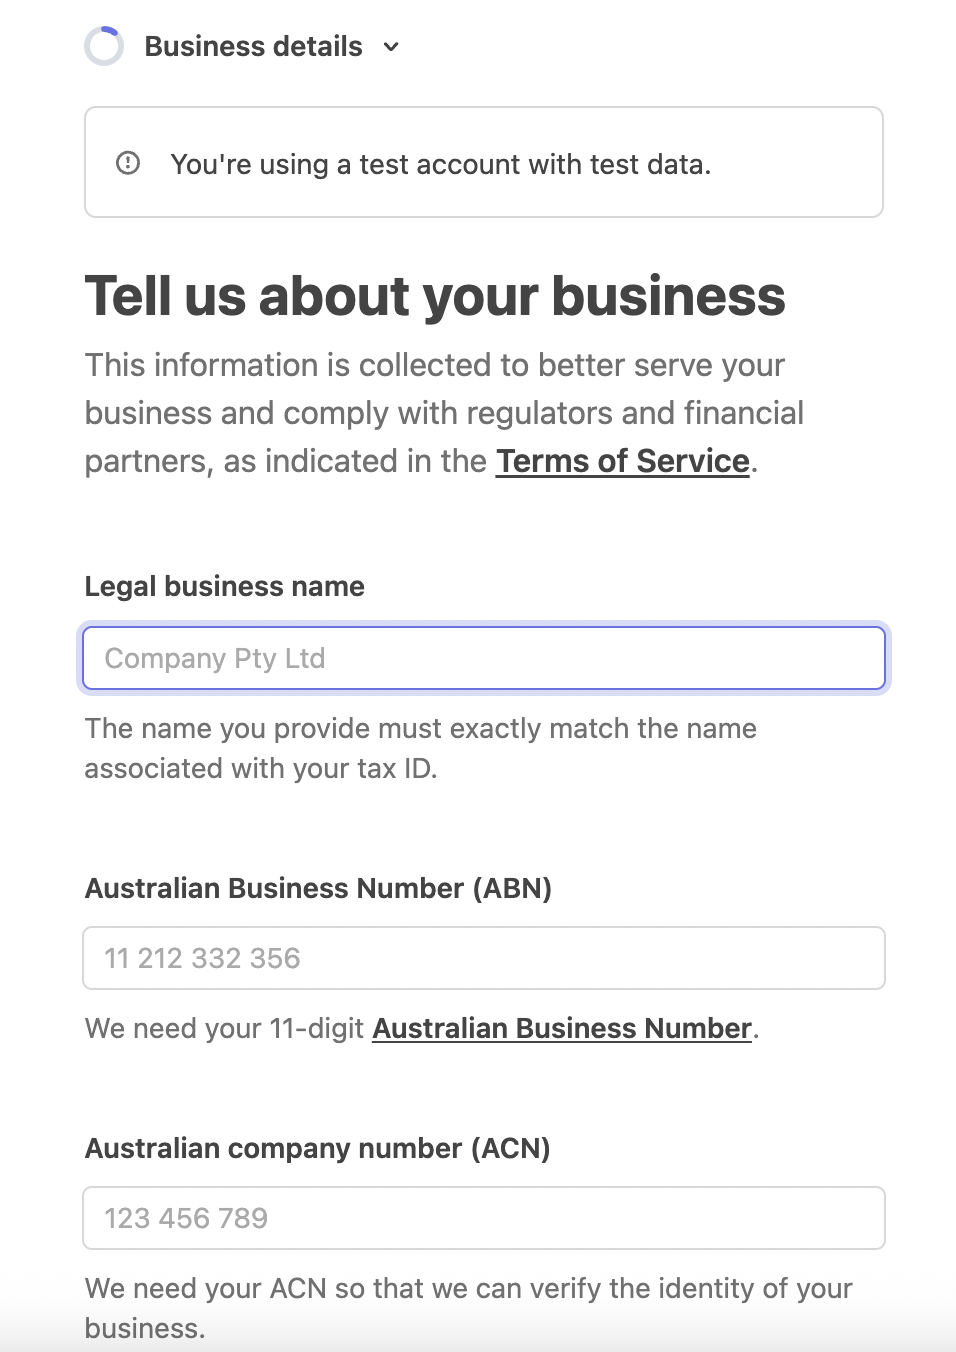
Business Details
From here, it will ask you about your business details.
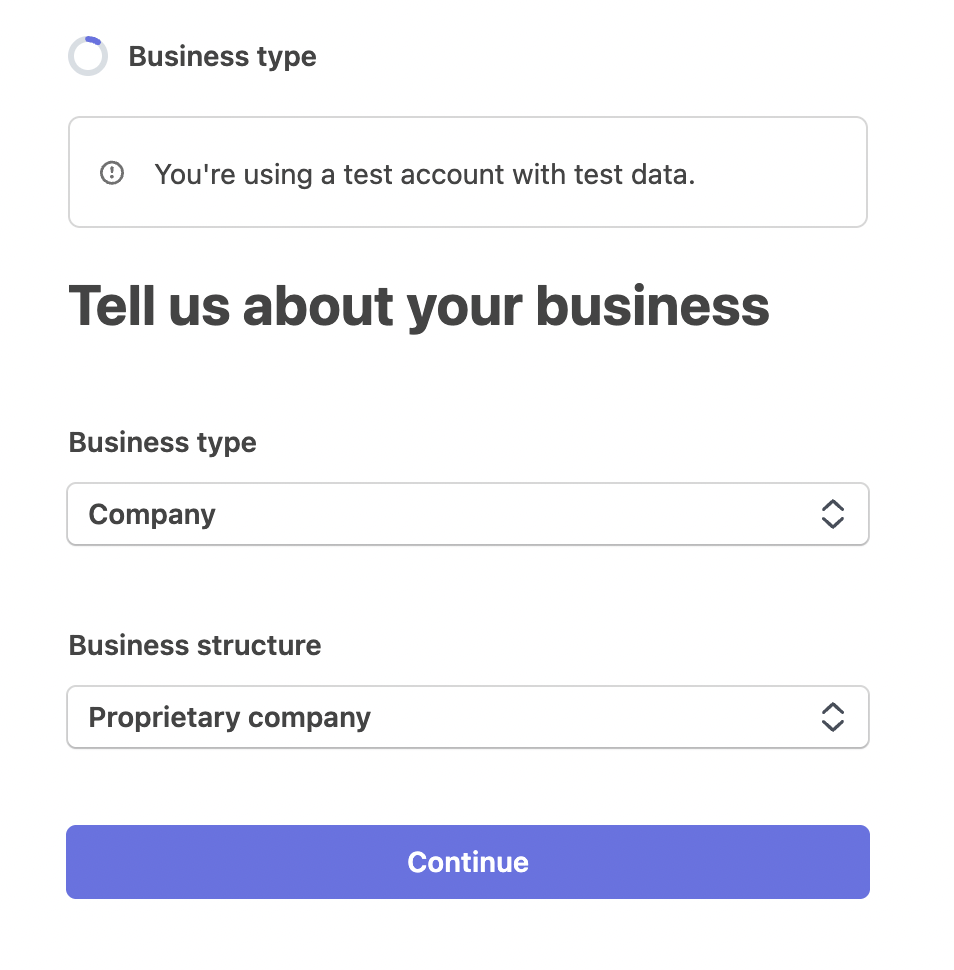
Continue to the next steps.
NOTEThe information asked will depend on the country of the Marketplace.
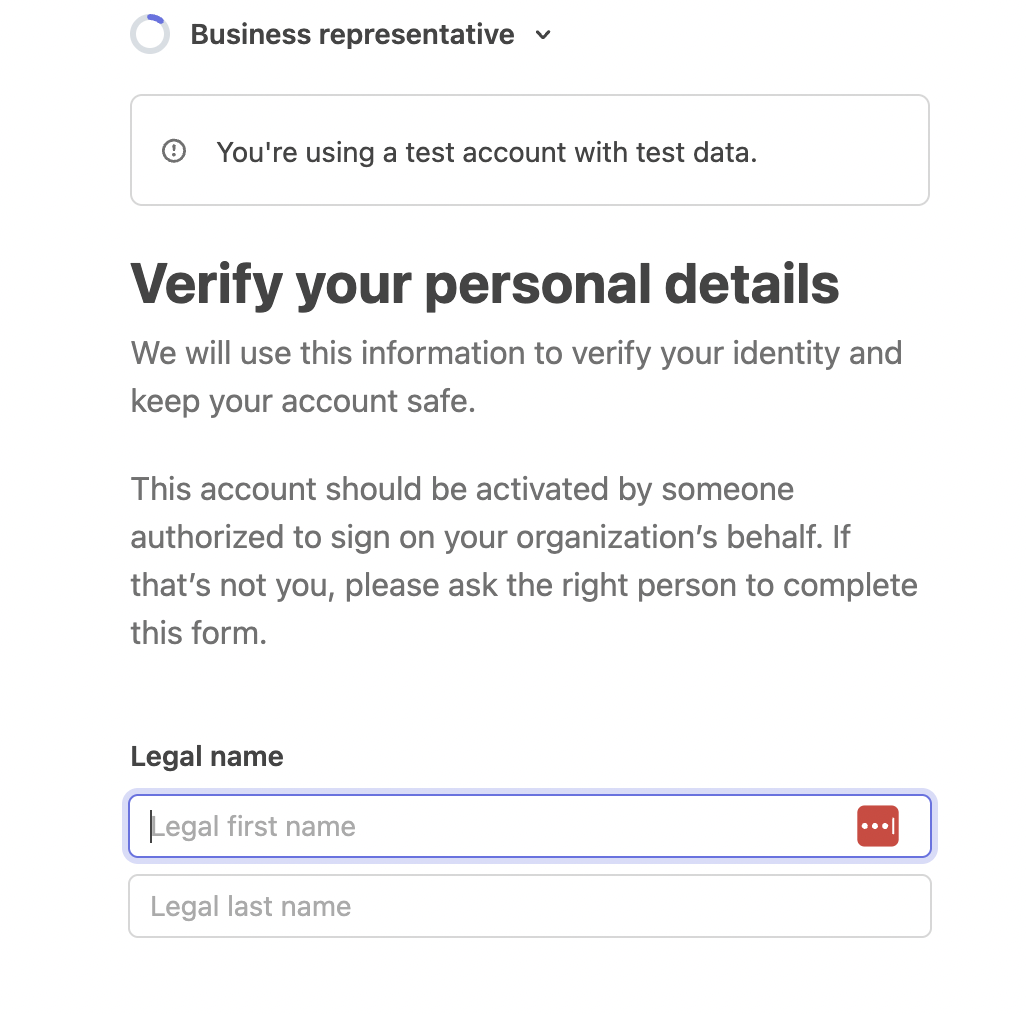
Personal Details
Continue the steps to then begin populating the account's personal details:
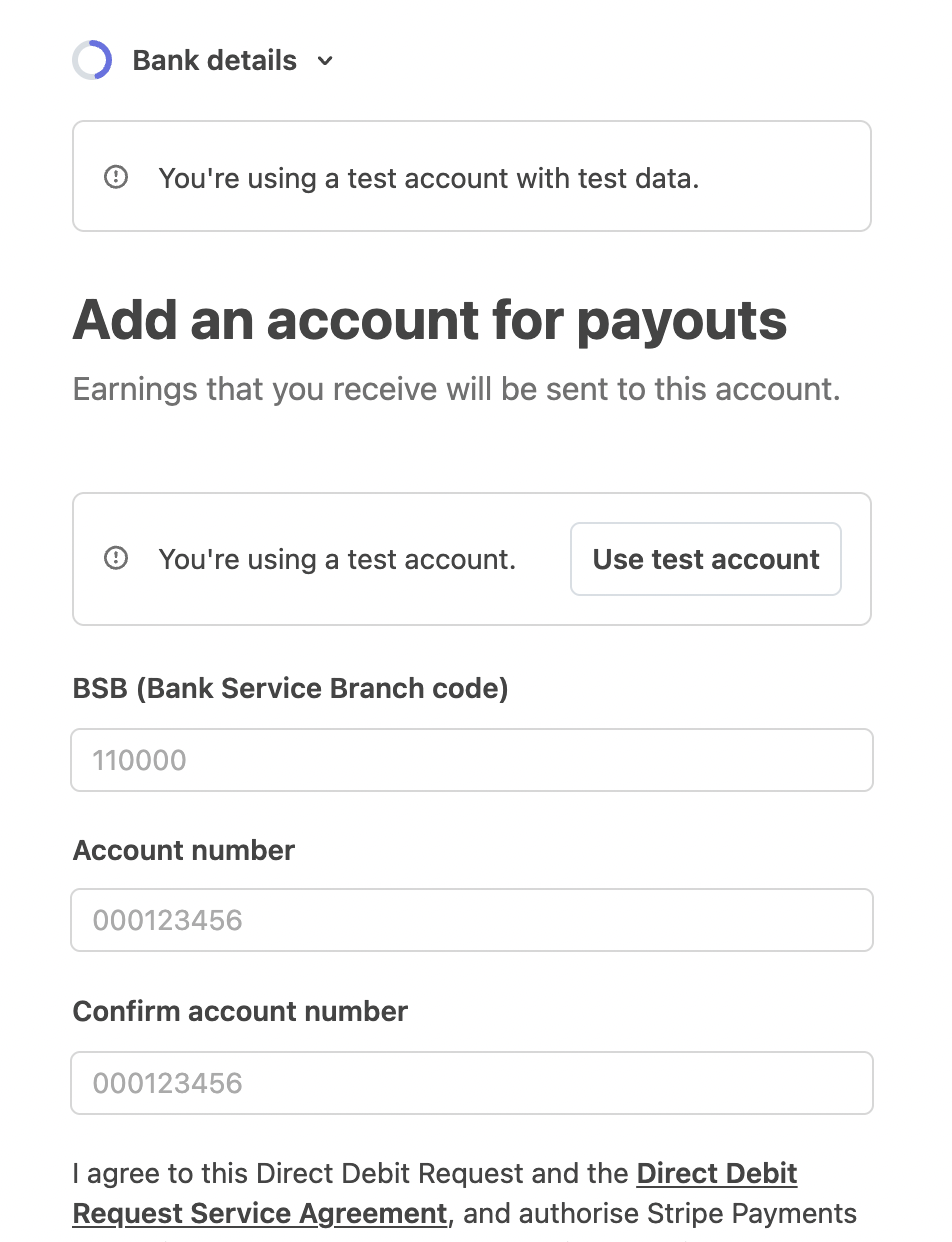
Bank Account for Payouts
Continue to then populate the Banking Details:
Review and Submit
From here, you can then verify all information provided.
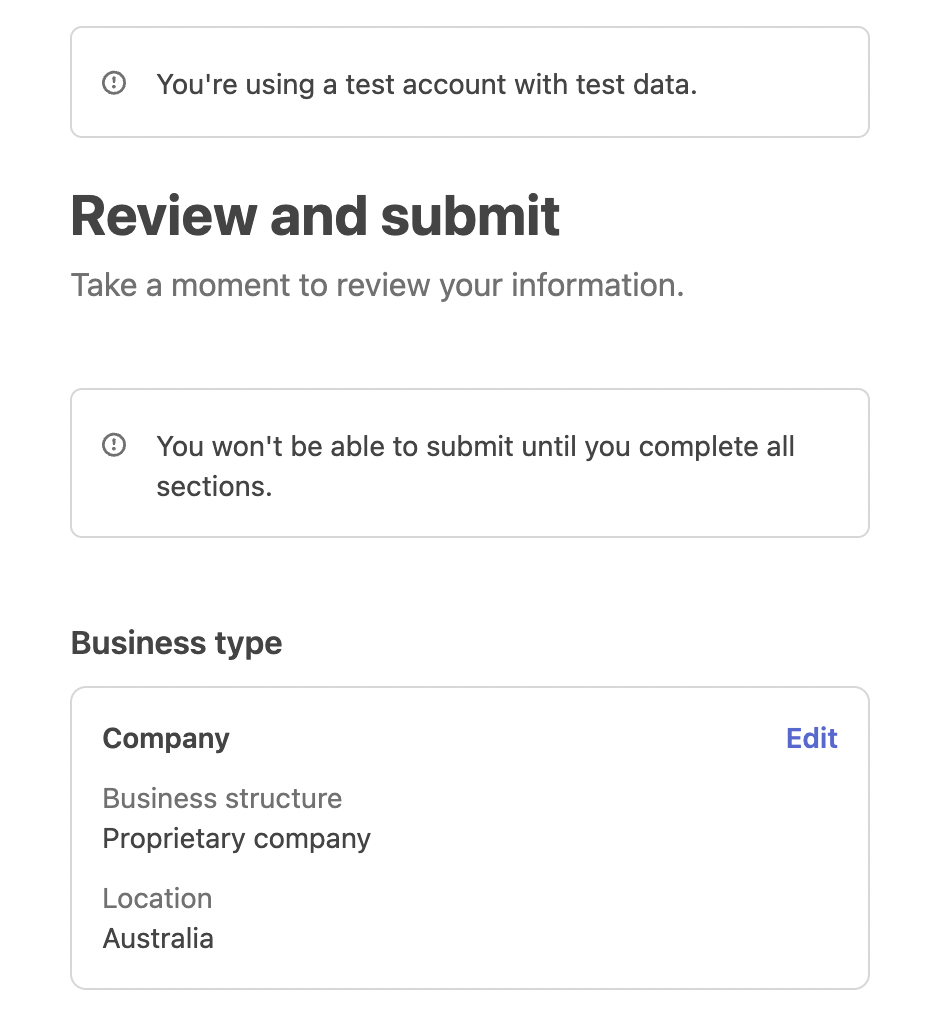
After Submission, it will confirm your entry.
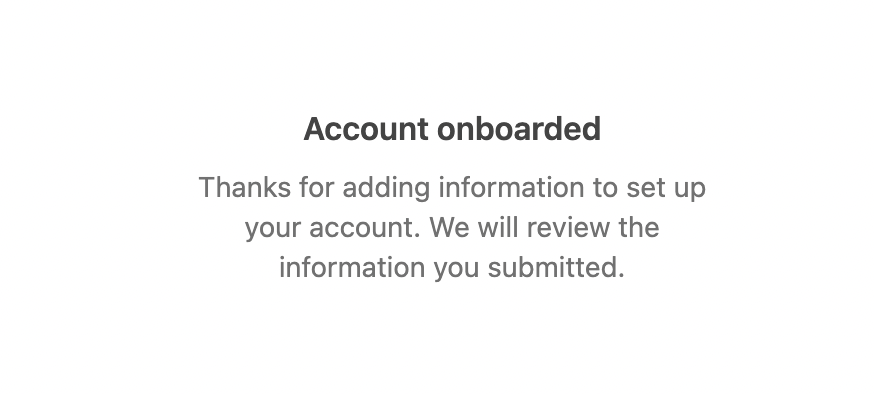
The page will then redirect you back to the Vendor Profile page.
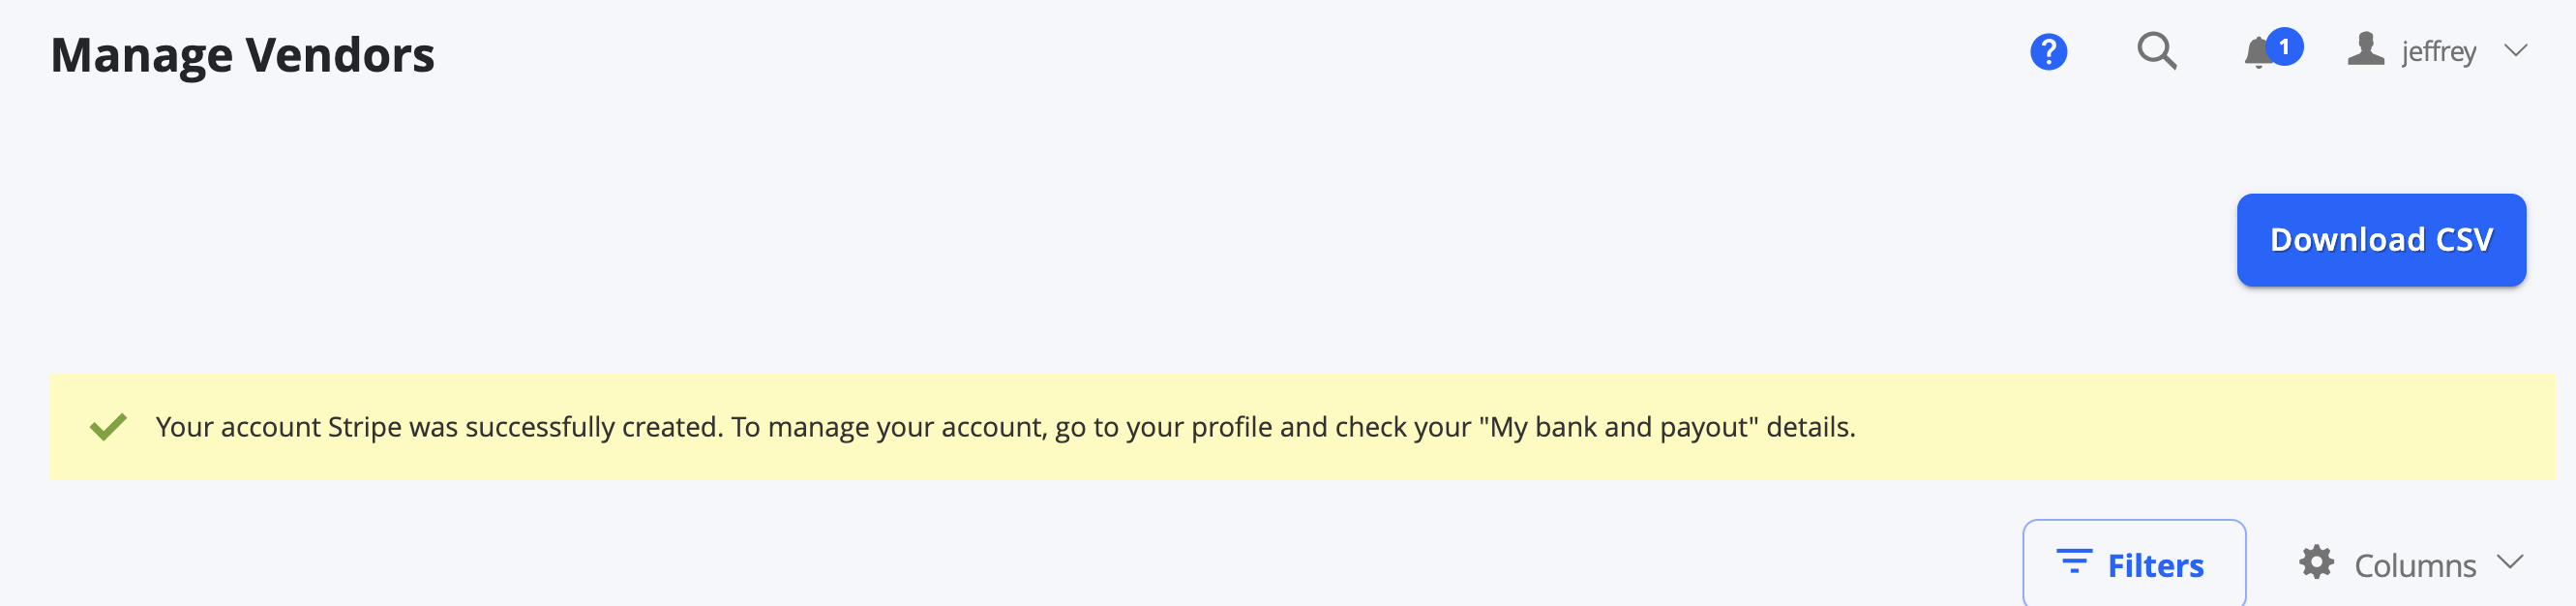
You can confirm and see your details from the Vendor Profile.

Accessing Stripe Connect KYC Account as a Vendor
There are 2 ways to access the Stripe Account.
- Log in to the Marketplace as an approved KYC Vendor, and navigate to the Vendor Profile > Payout and Banking (the same section used to sign up). Here there will be a Click here to login to your Stripe Account button.
- You may log in directly through Stripe's Express login: https://connect.stripe.com/express_login