5. Creating a Source for Inventory
All vendors will need to have a source for all their products to originate from. Depending on the Vendor Type configuration, if it is set to automatically create sources, then the Vendor does not need to Add New Source unless more sources are required.
Managing Sources
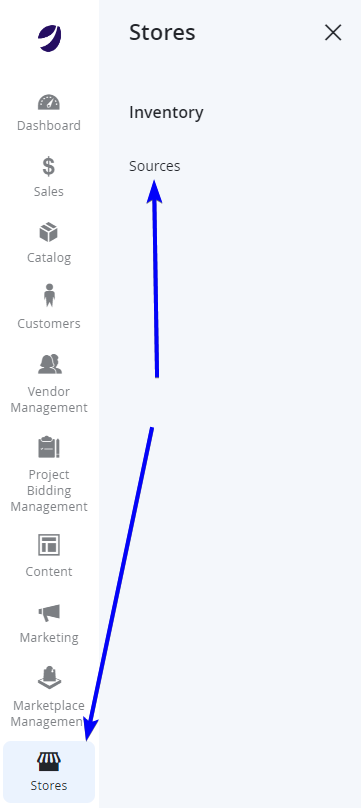
- Log in to Admin Portal. From the left menu, navigate to Stores > Inventory > Sources.
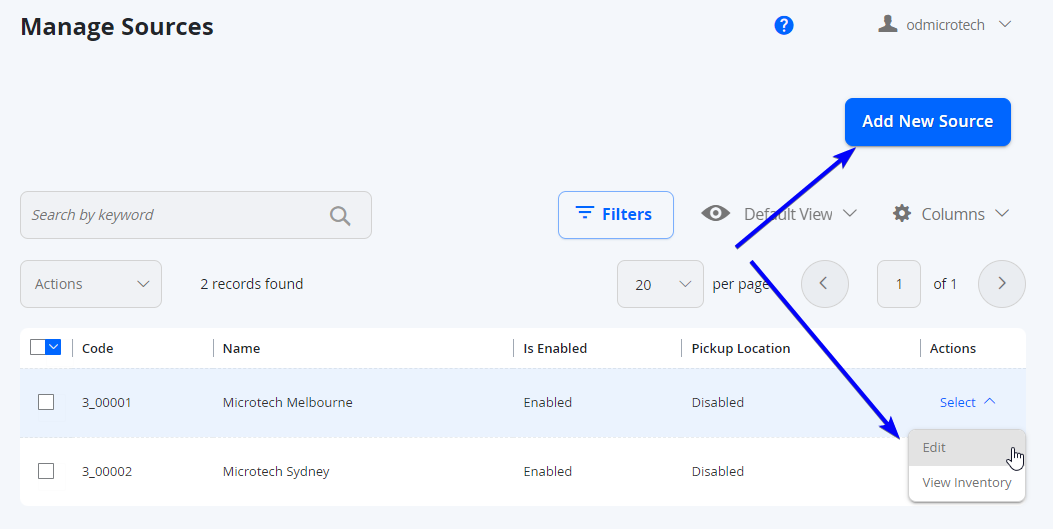
- Select Add New Source from the top right of the page or select Edit from the Actions column for an existing Source.
- Populate/edit the required fields for the General section.
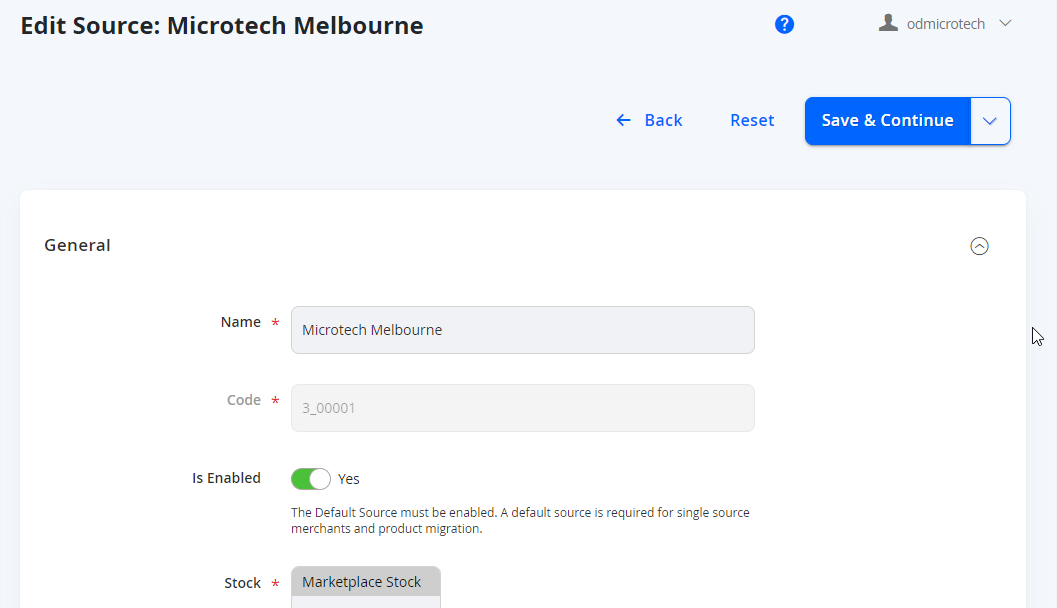
| Field Name | Notes |
|---|---|
| Name | The name of the source. |
| Code | This is the unique identifier of the source. This is automatically generated on save. |
| Is Enabled | Enables or disables this source for use. |
| Stock | By default, select Marketplace Stock if it isn't already. |
| Description | Enter a Description for this source. |
| Latitude | Optional |
| Longitude | Optional |
| Use as a Pickup Location | Currently unused - leave this as No. |
- Populate/edit the required fields for the Contact Info section. This is mostly used for Easyship integration, so if Easyship is not being used, this field can be left optional.

| Field Name | Notes |
|---|---|
| Contact Name | This will be the name of the contact person for this particular location for shipping notifications/enquiries (eg if a courier is coming to pick up an order) |
| For pick up notifications if required | |
| Phone | For pick up contact if required |
| Fax | Ignore if not Required |
- Populate the fields for the Address Data for the source. The fields will update based on the Country selected.

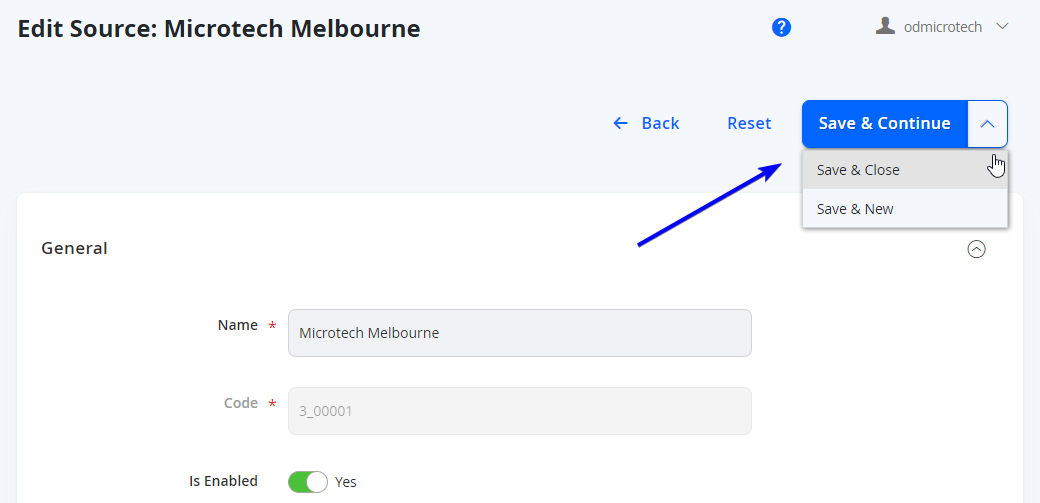
- Choose Save & Continue once completed. You can also use the dropdown to Save & Close too if you are finished, or Save & New if you have another source to create.