Setting up RMA Workflow Rules
This is typically required to set up when you are going through a standard RMA process as outlined here {LINK}.
The Marketplace Platform automatically split the RMA by the different vendors - so this step will apply for when the vendor approves the RMA, as this will need to then be automatically assigned to a specific Admin User from the Marketplace, to provide the Credit Memos.
Creating an RMA Workflow
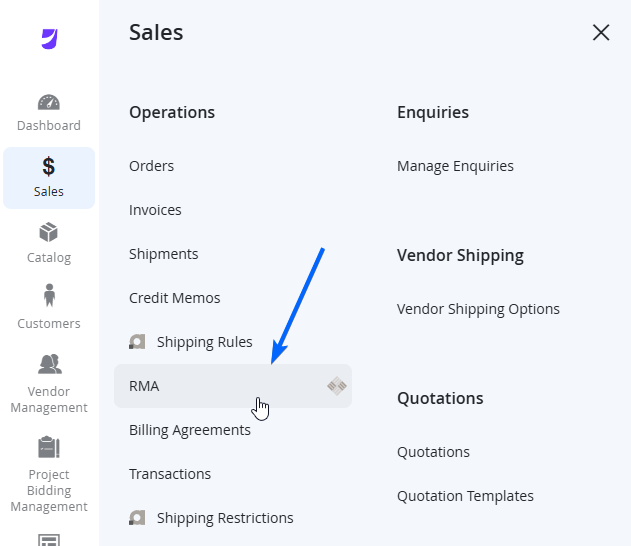
As a Marketplace owner, navigate to the left menu under Sales > Operations > RMA.
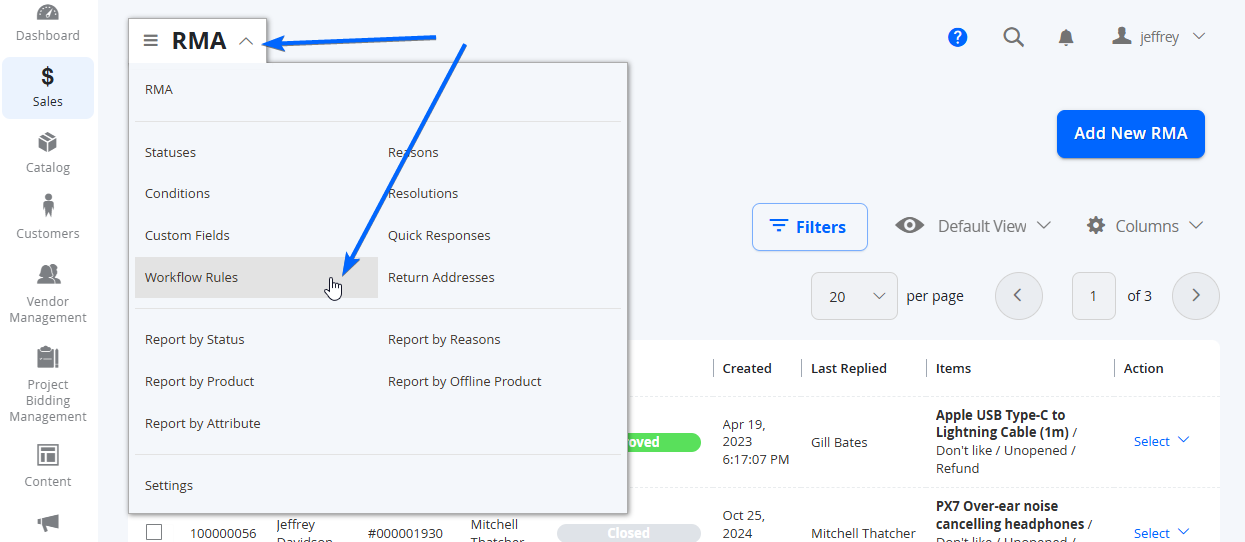
When the page loads, from the top left of the page, navigate to RMA > Workflow Rules.
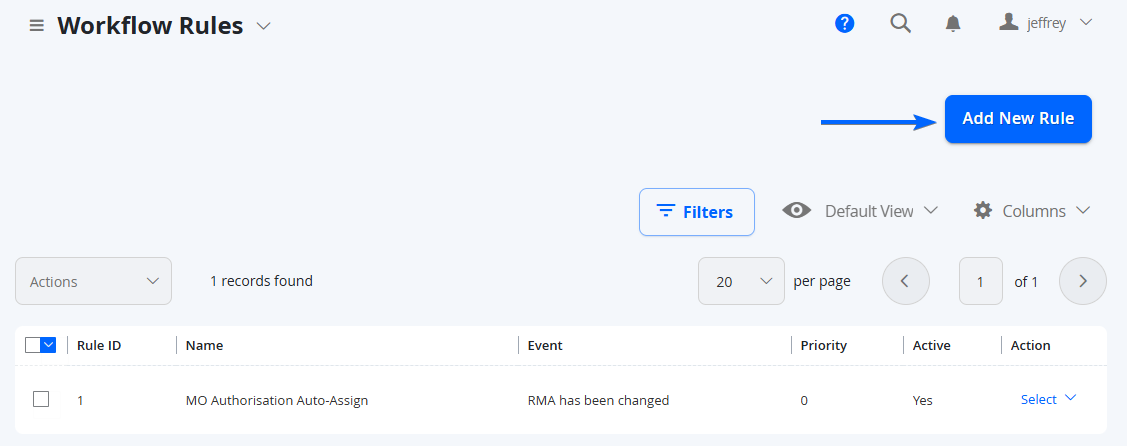
From here, if there isn't already a rule created for what you need, select Add New Rule from the top right.
In this case, you can start to set up your Rules. Below is an example Workflow Rule in which we set up when a trigger of when a Vendor is
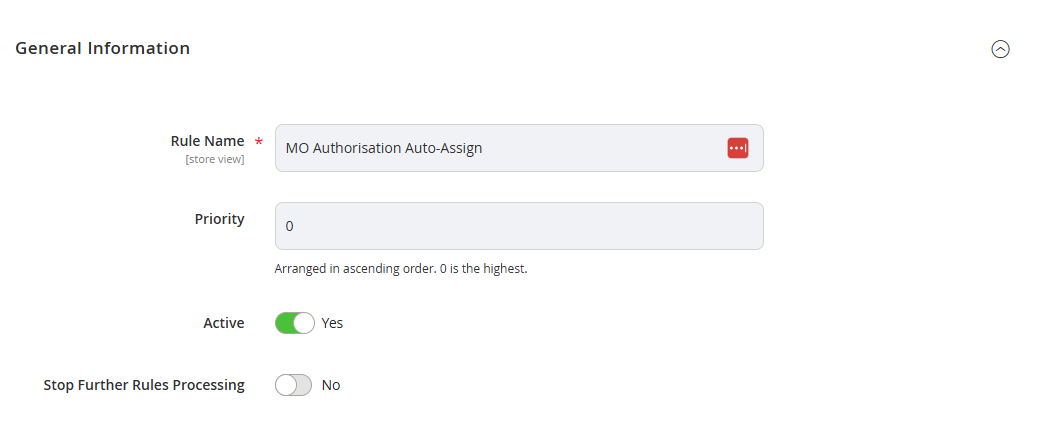
General
Here is the configuration you can use to create the name of the Rule, priority and if it is enabled.
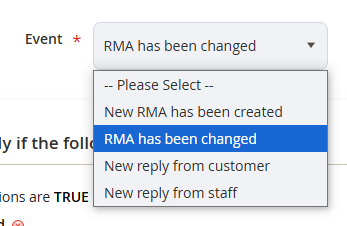
Conditions
Here you can specify the event that triggers this Workflow Rule. Please see the Events available.
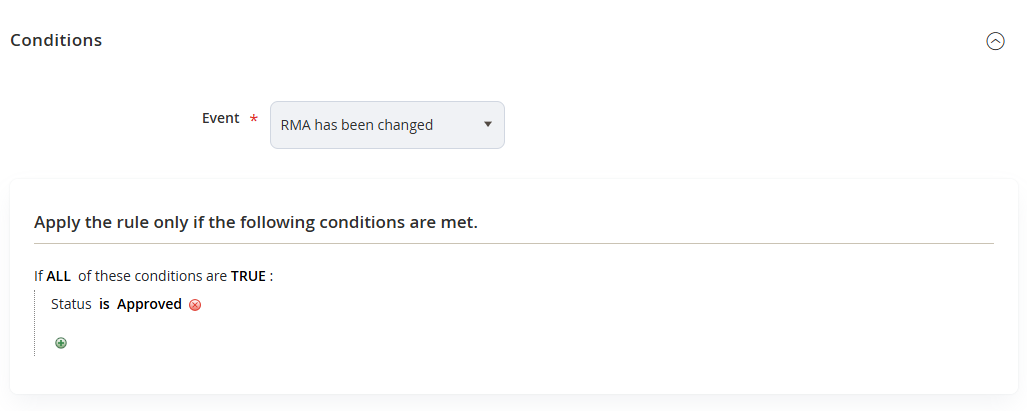
You can then set to when to apply the rule, which in the screenshot below, shows for when the Status of the RMA is Approved.
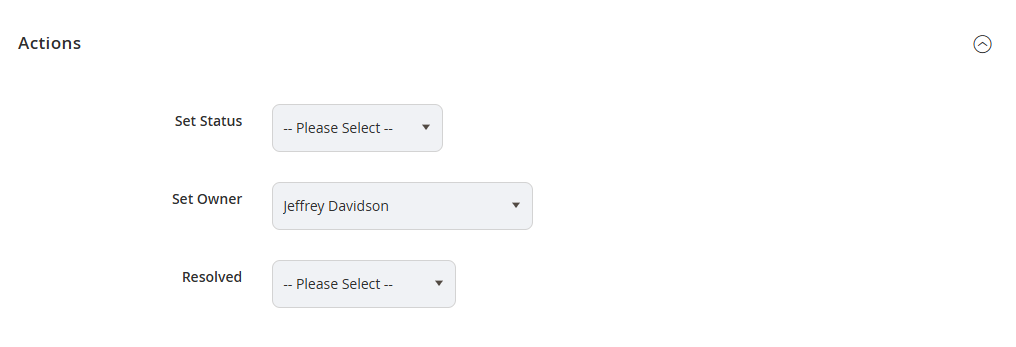
Actions
This is where you can dictate the action that will happen to the RMA when the conditions above are met. In this case, when the conditions are met, the platform will set the RMA Owner to be Jeffrey Davidson (which would be the Marketplace Owner in this case).
Notifications
Here you can choose to Email the customer and the new RMA Owner of this change - as well as the message shown.

Saving the Workflow Rule
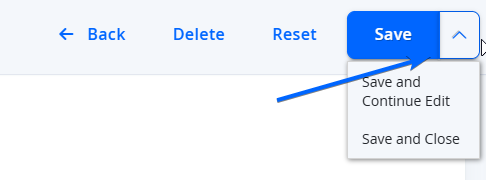
When completed with the configuration, select Save from the top right. You can also select the arrow to the right of the Save button if you would like more options.