Admin Users and Password Management
Admin Users and Vendors access the back end of the platform in the same login. Effectively, Vendors are admin users with only limited access.
Creating Admin Users
You can create Marketplace Admin Users in the Admin Portal so that they can also have their own log in details.
NOTEThis will only apply to Marketplace Owner users. Vendor Admin Users are automatically created on Vendor approval. Marketplace Owners and Vendors can create separate Sub-vendor User accounts through Vendor Management.
-
As Marketplace Owner User, log in to the Admin Portal.
-
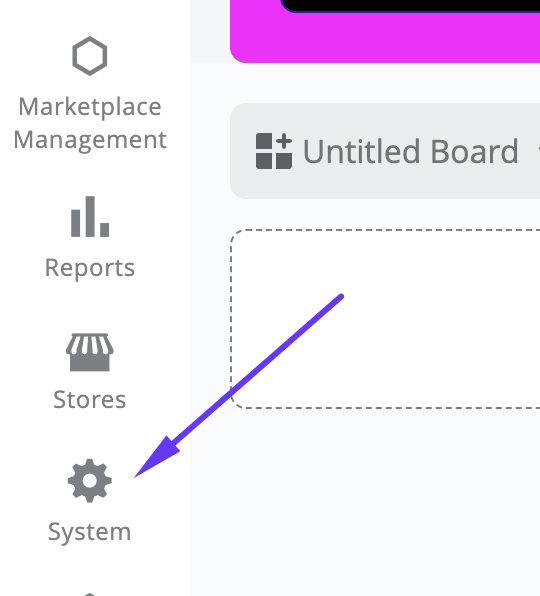
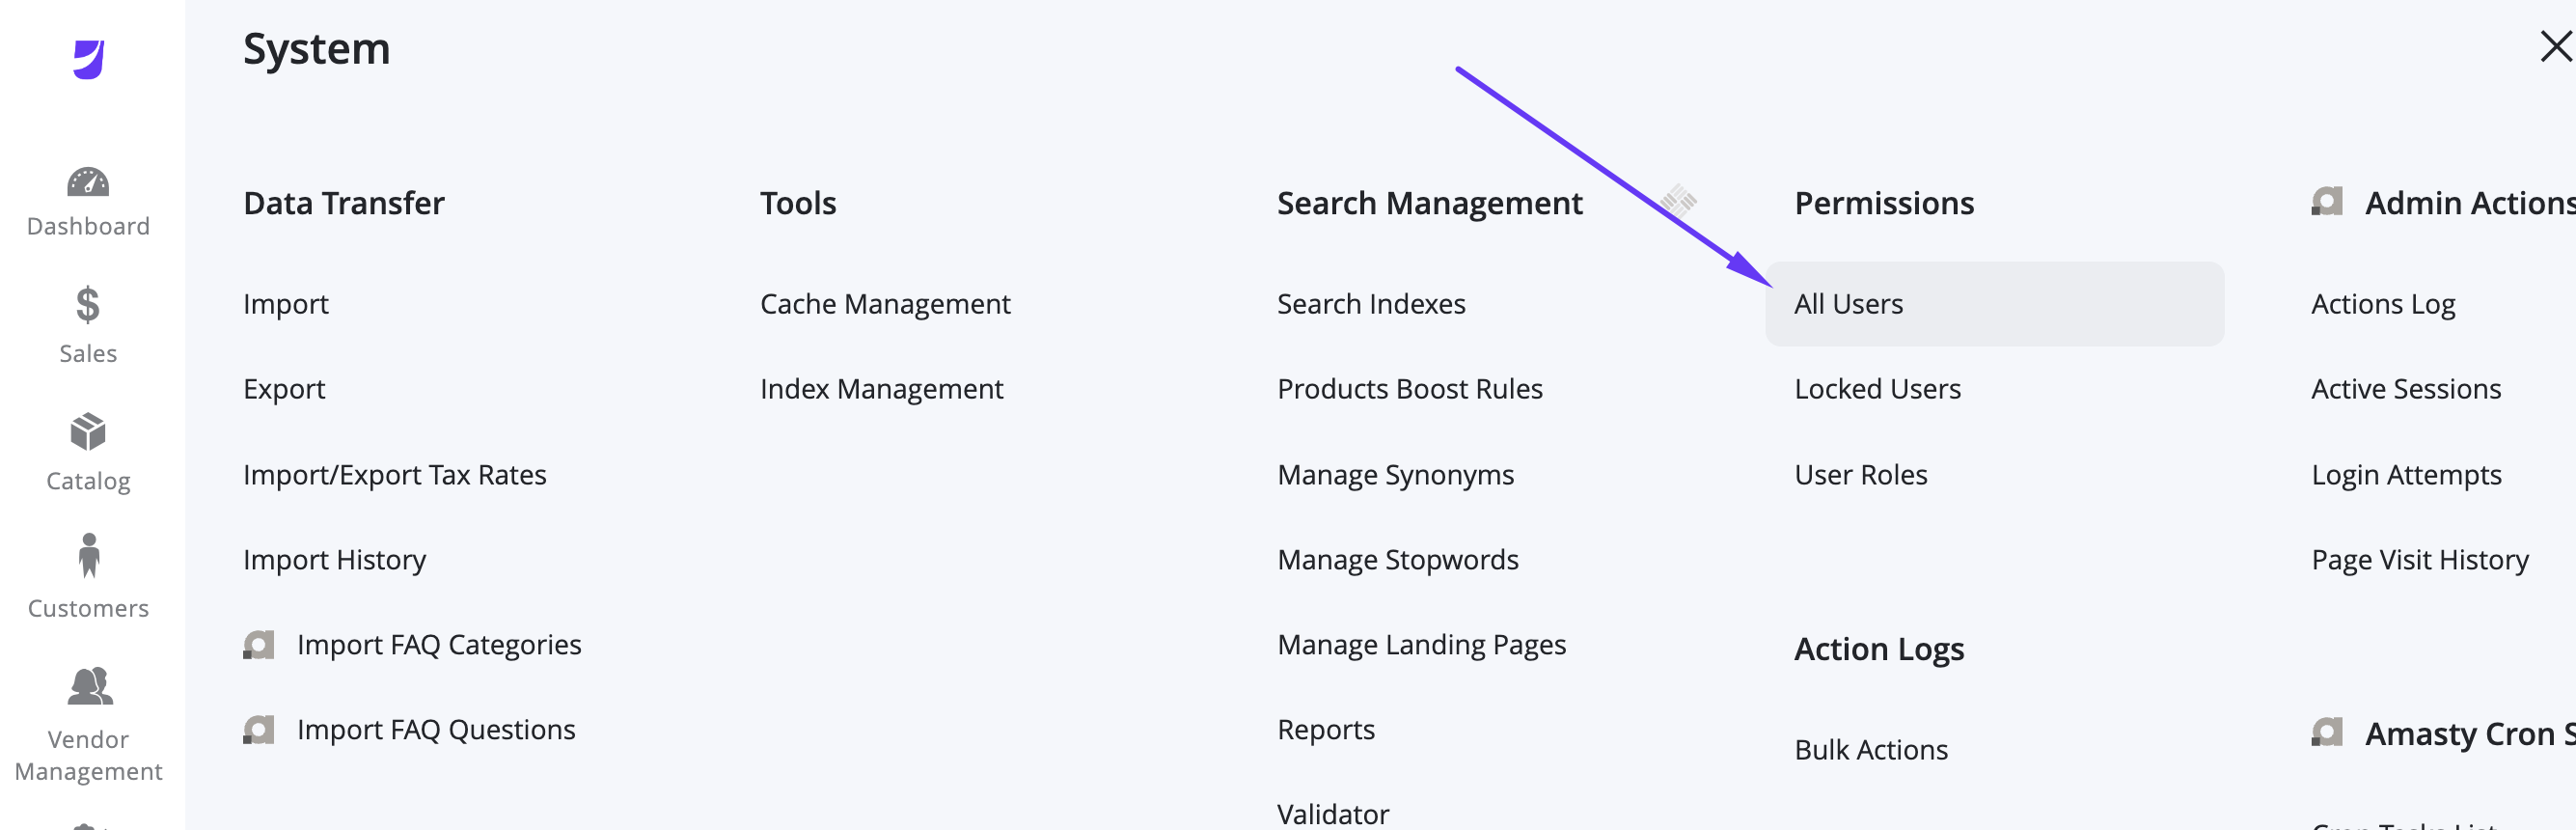
From the left menu, navigate to System > Permissions > All Users.

-
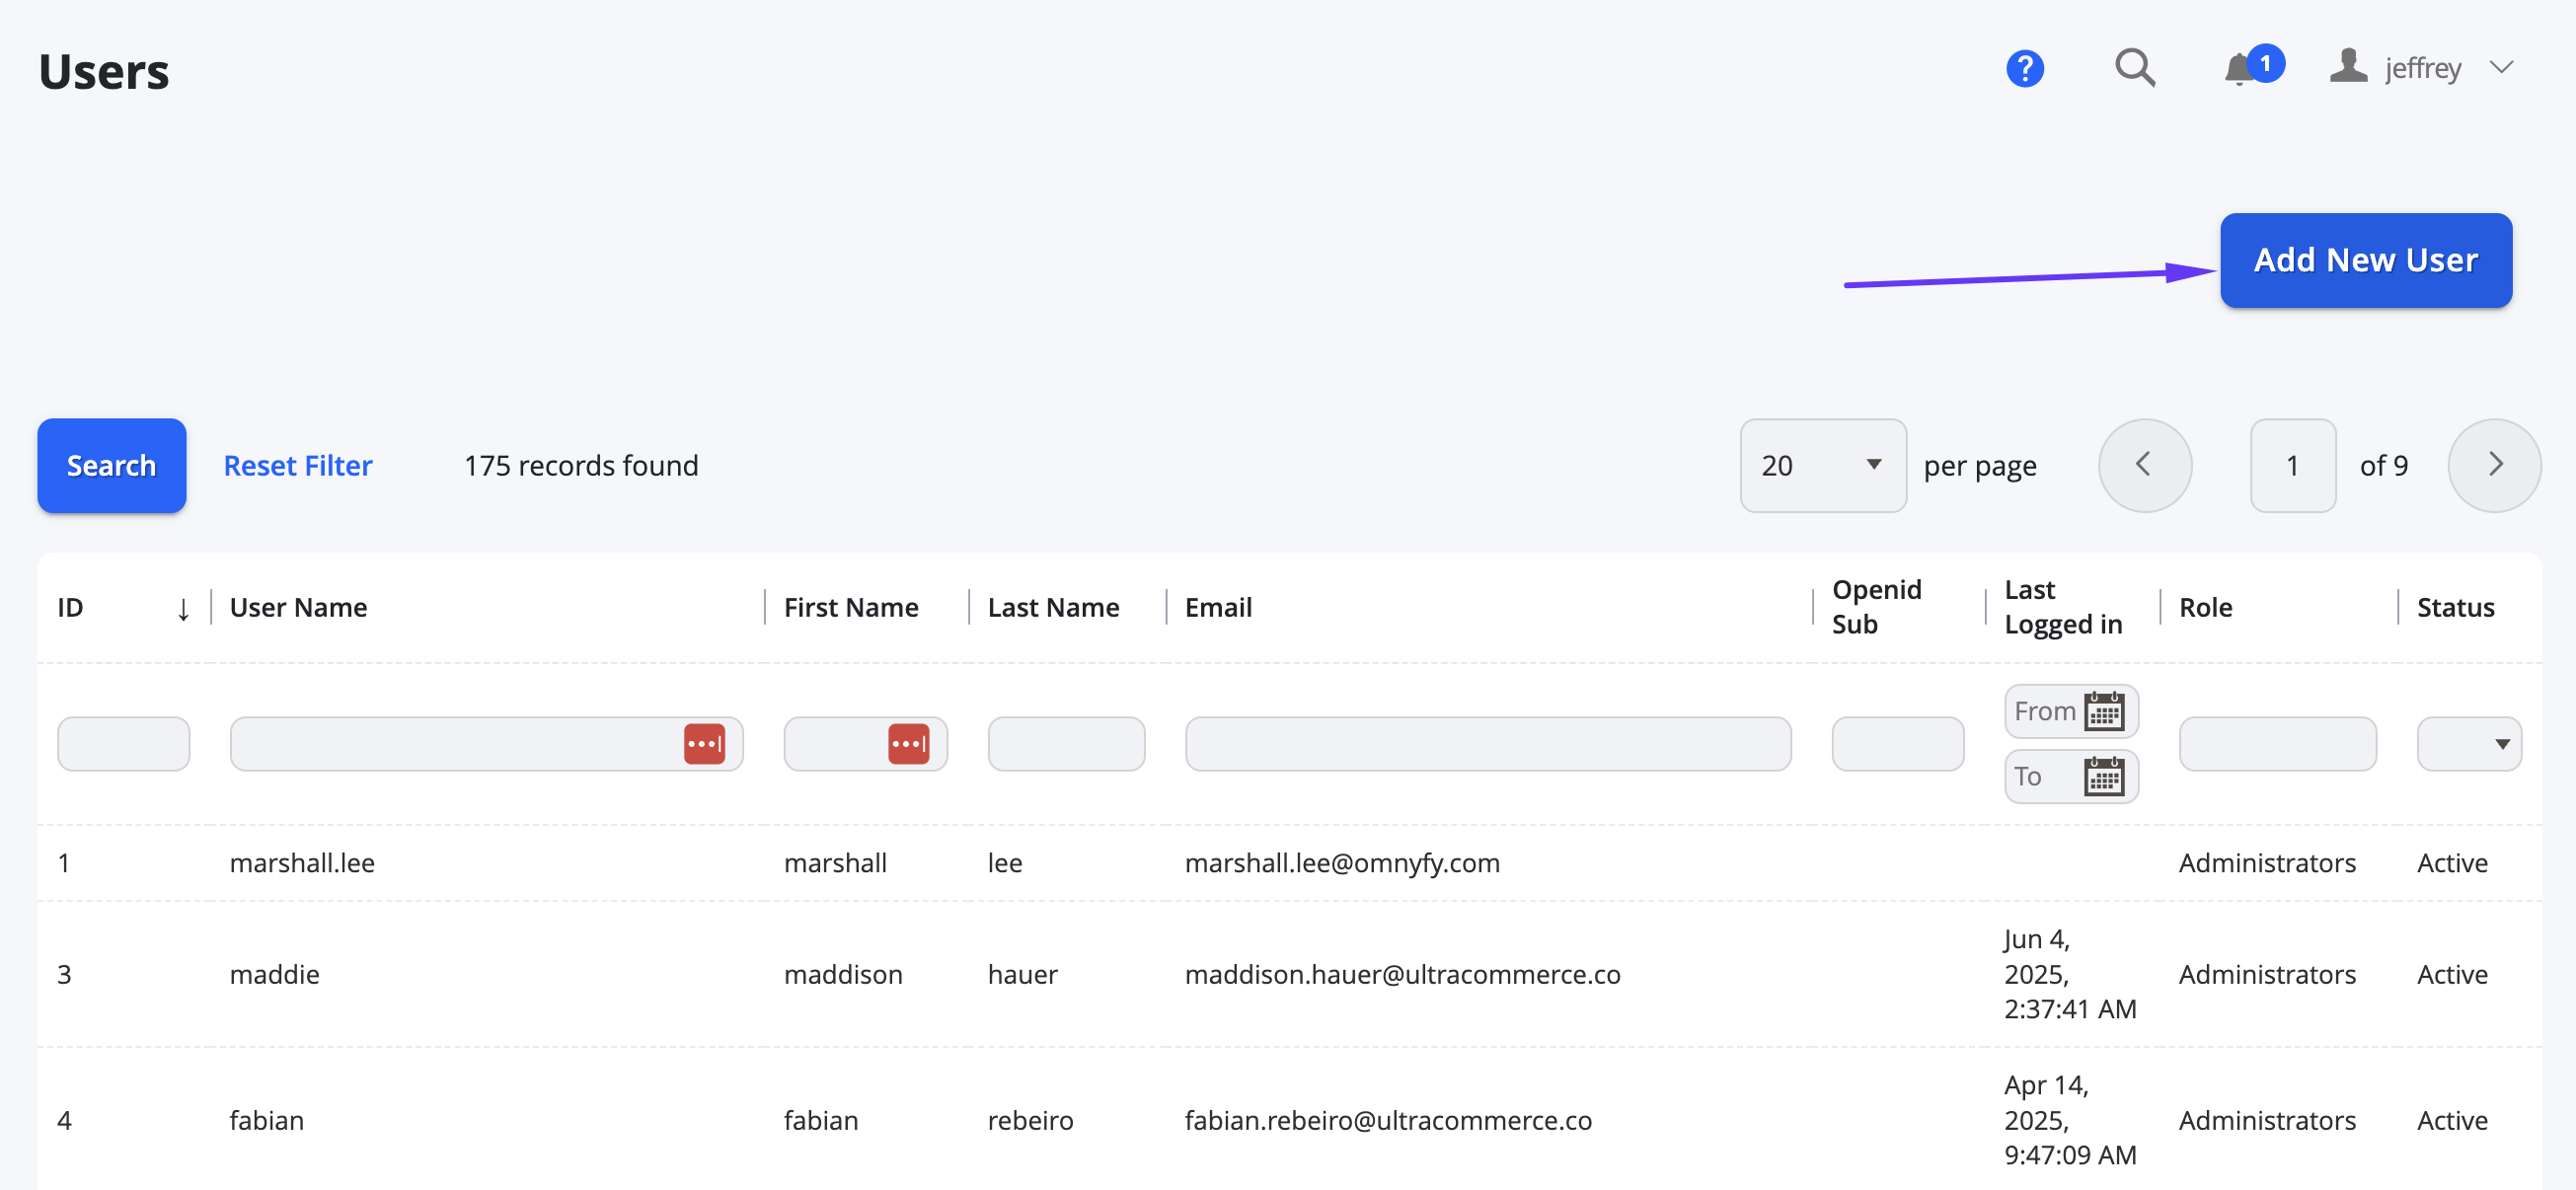
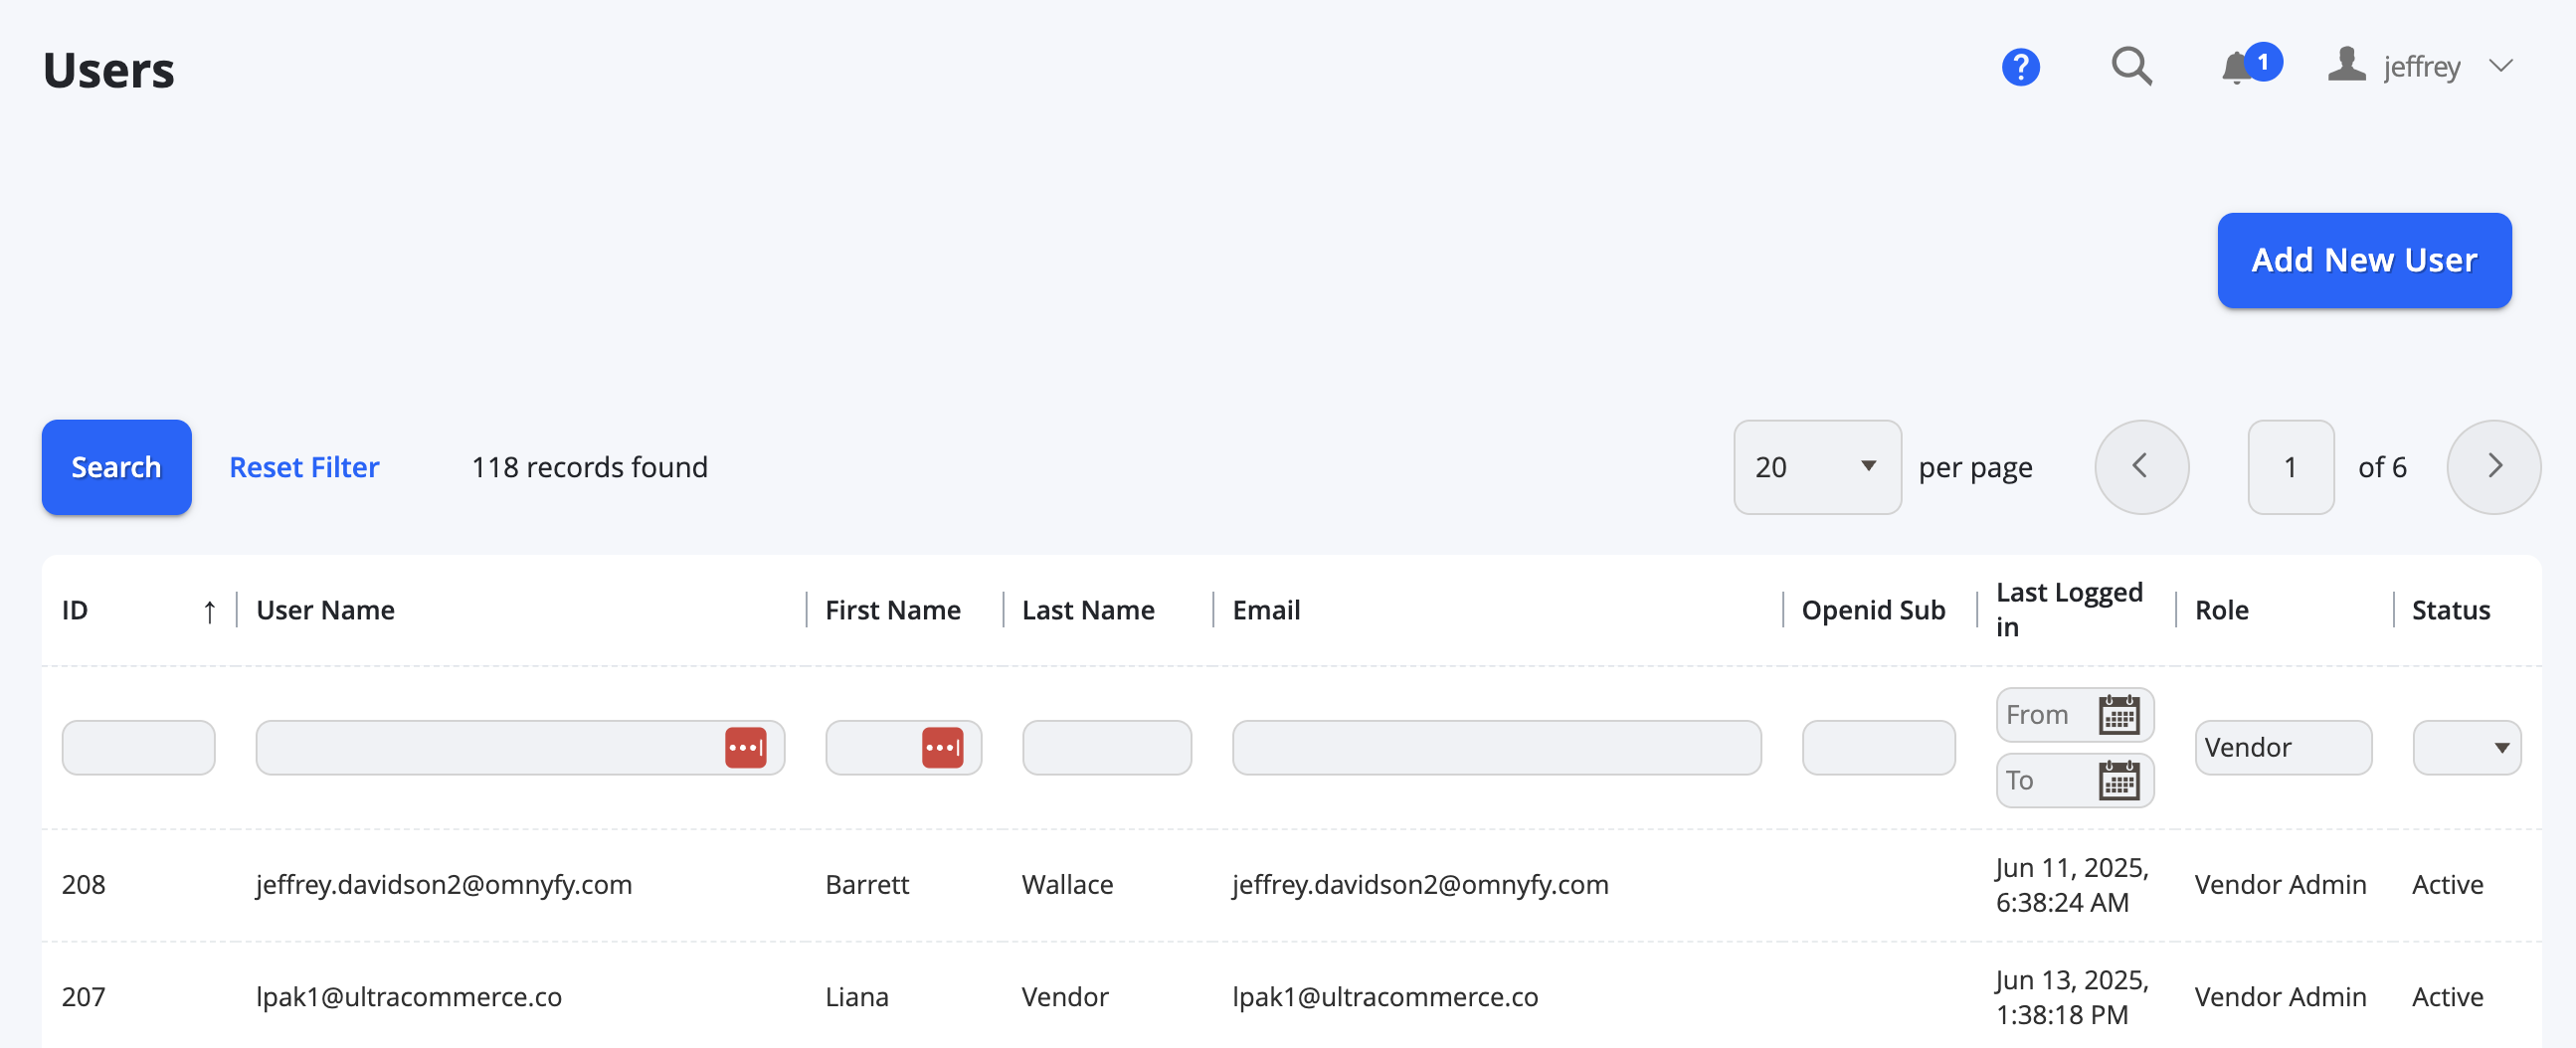
Here you will see a list of all users on the platform. This will include vendors too, so you can find existing approved vendors on the platform. To add a new Admin User, click on the top right button called Add New User.
-
You will be presented a variety of fields to input for the new user.
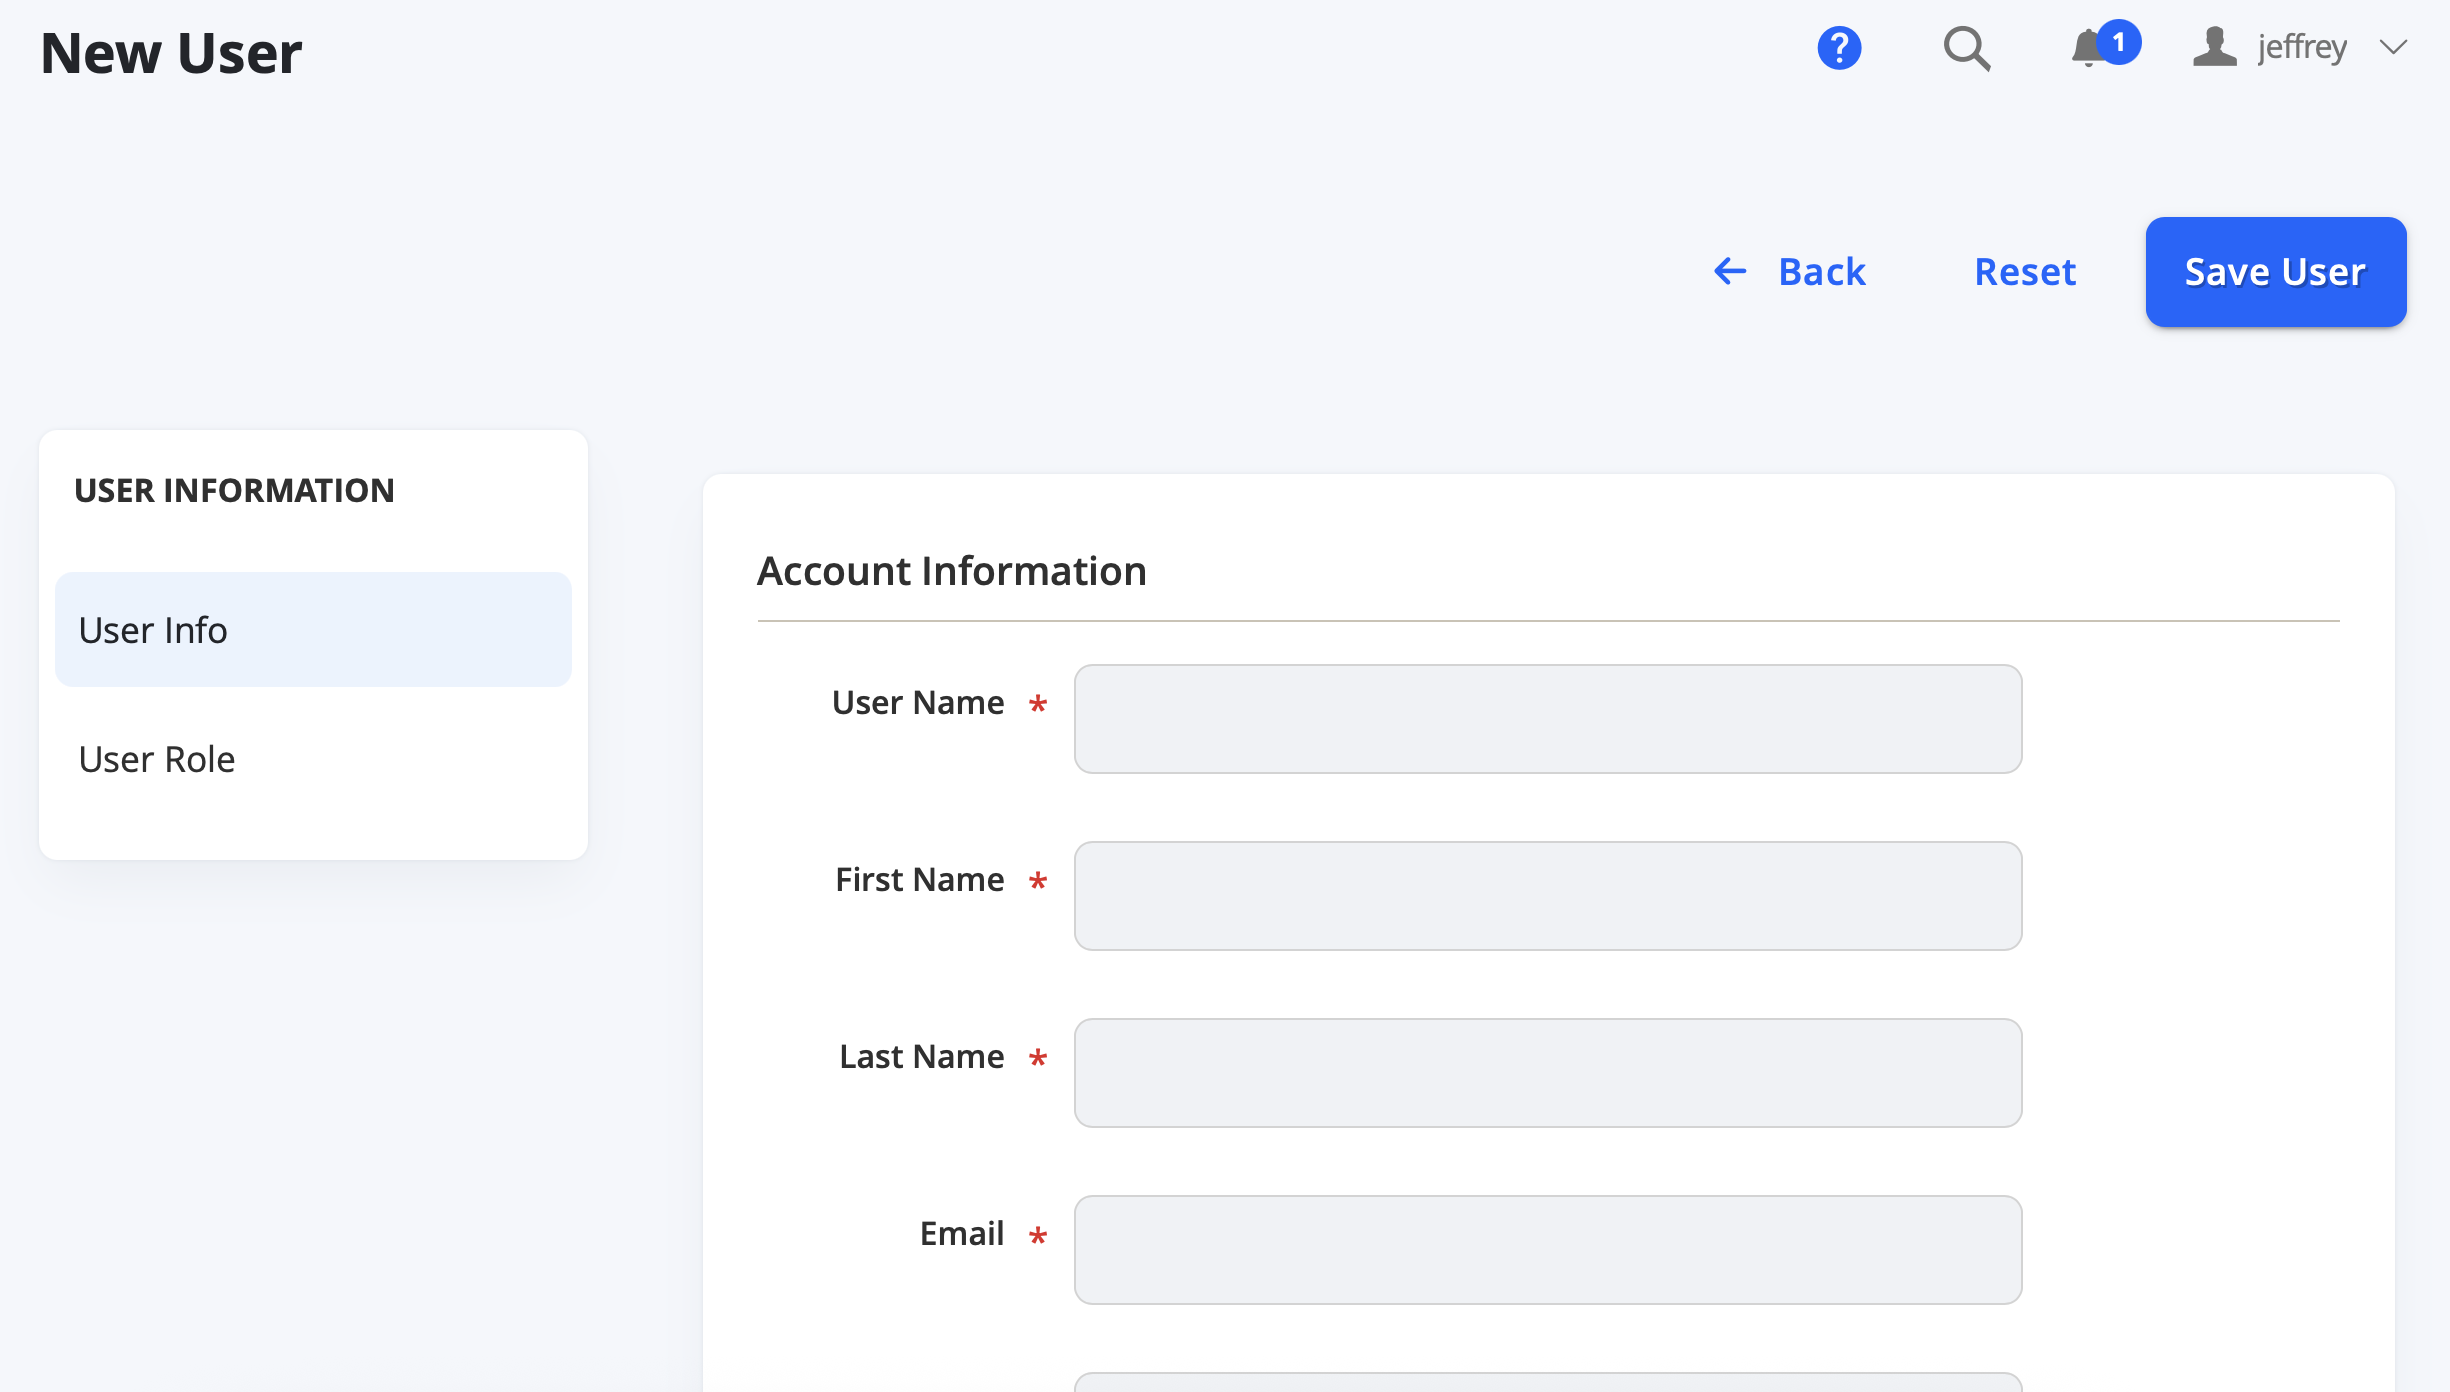
| Field Name | Notes |
|---|---|
| Account Information | |
| User Name | This will be used for the user to log in to the platform. It will need to be unique to each user. |
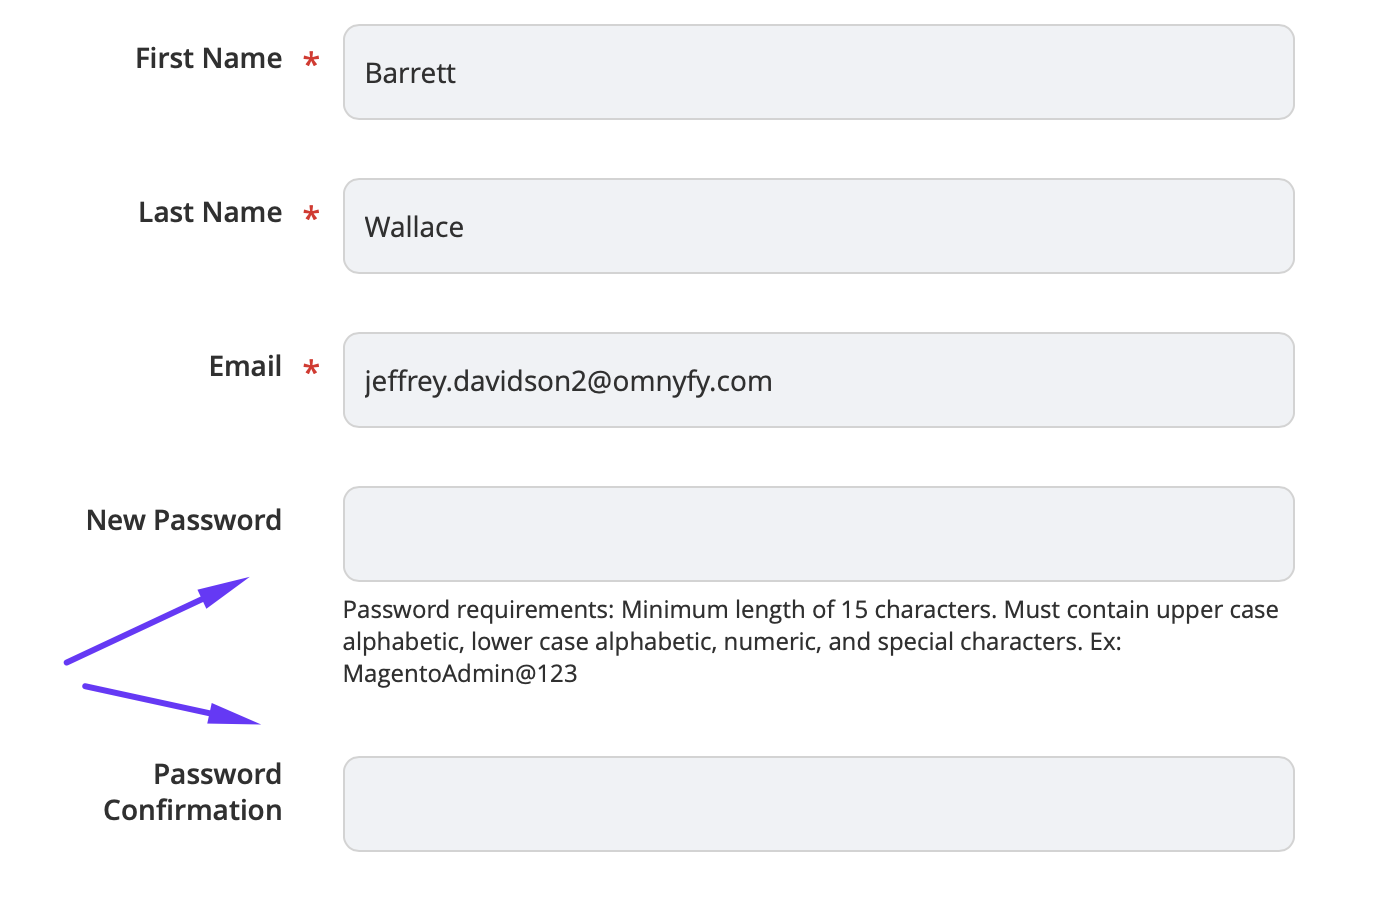
| First Name | Input for the first name of the user |
| Last Name | Input for the last name of the user |
| Input for the email address of the user. This will also be used for their password recovery (if they select "Forgot password" when trying to login.) | |
| Password | This is where you can input a password for the user. You can input a temporary password and the user (when they log in) can change this upon them logging in. |
| Password Confirmation | Input the same password as above to confirm that the passwords match. |
| Interface Locale | If the Marketplace has multiple languages, set Interface Locale to the language to be used for the Admin Portal |
| This account is | You can set if this account is Active or Inactive. If set to Inactive, the user will be unable to log in and use the account. |
| Vendor | Typically as a Marketplace Owner admin role, this should be kept as None. This field assigns a user to a specific vendor - used in conjunction with the Vendor Admin Role and Sub-Vendor Admin Roles. |
| Store Views | This is where you can select which Store Views this User will have access to. |
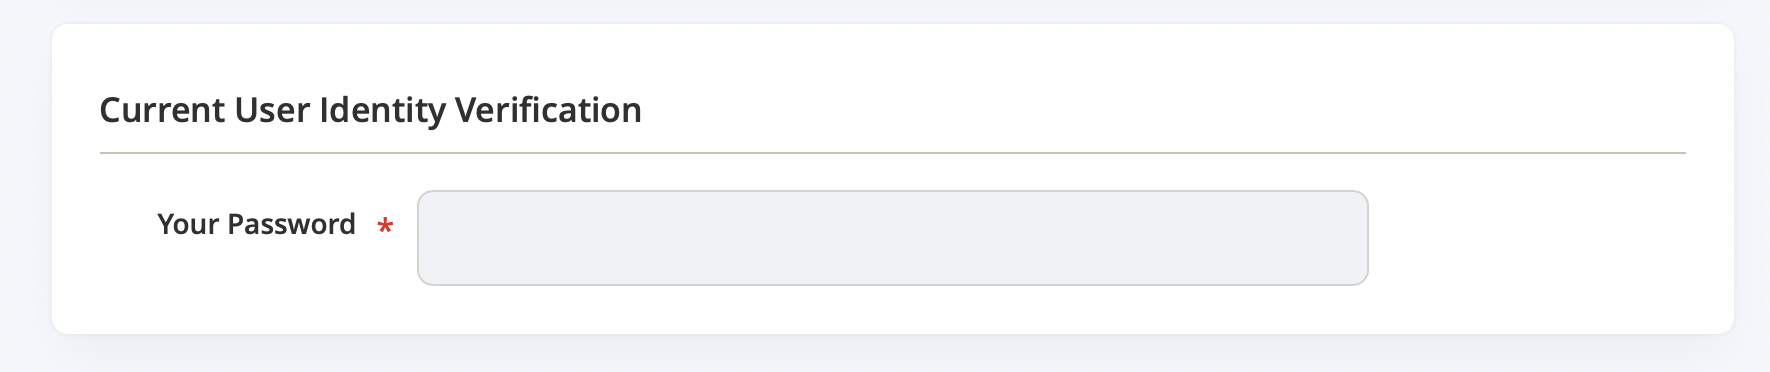
| Current User Identity Verification | |
| Your Password | You will need to input your own password that you used to log in to this account. This security verification is required to ensure you are authorised to make this change. |
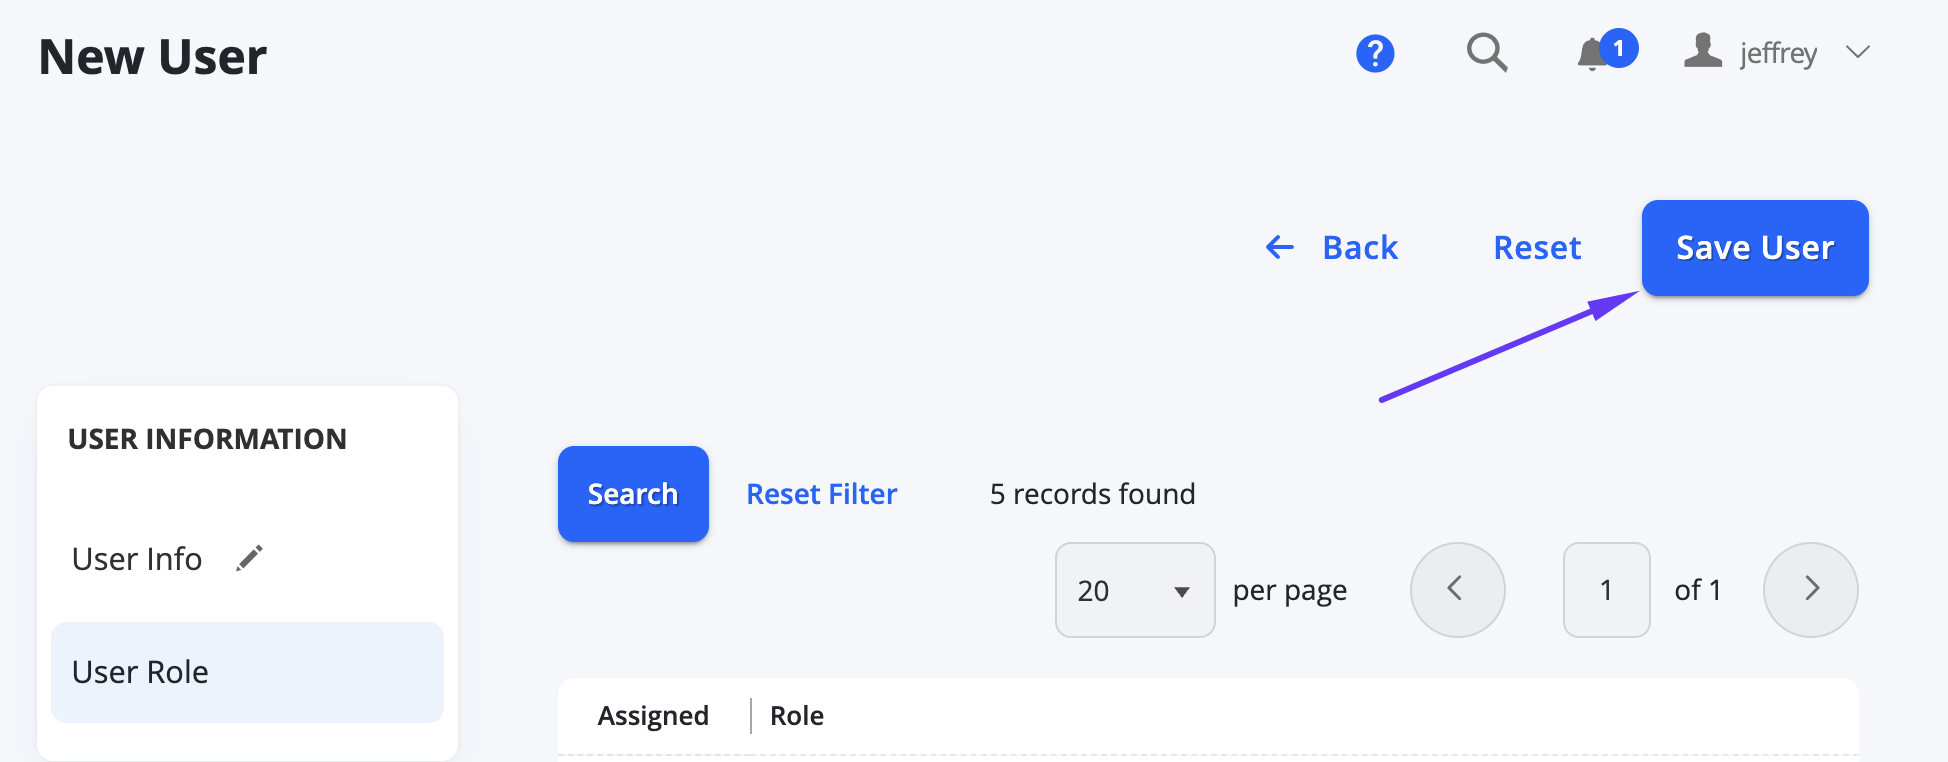
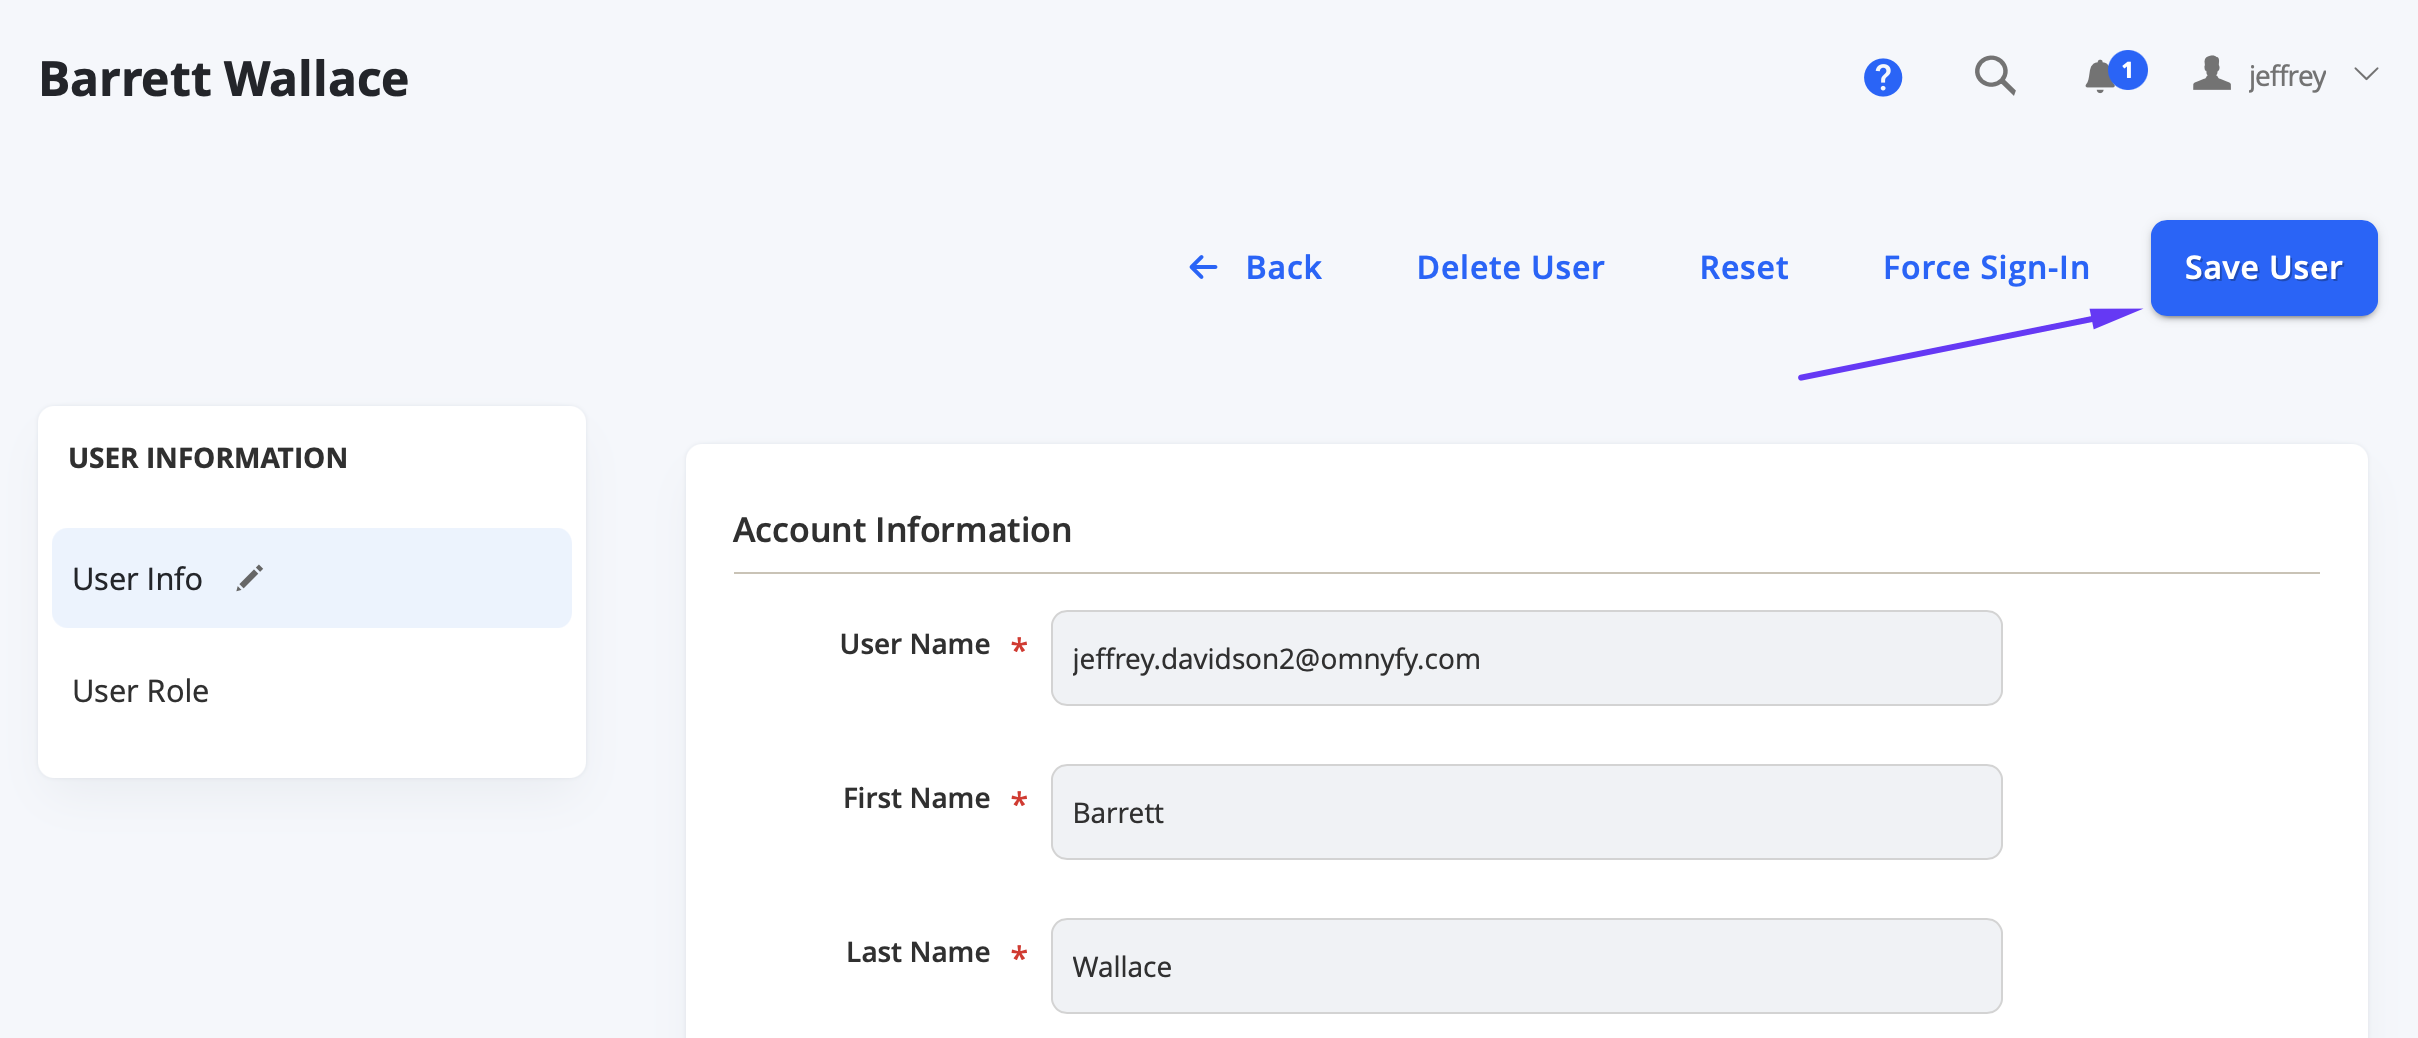
Once you fill in these details from this tab, navigate to the left hand side under User Information and select the User Role tab to assign a role.
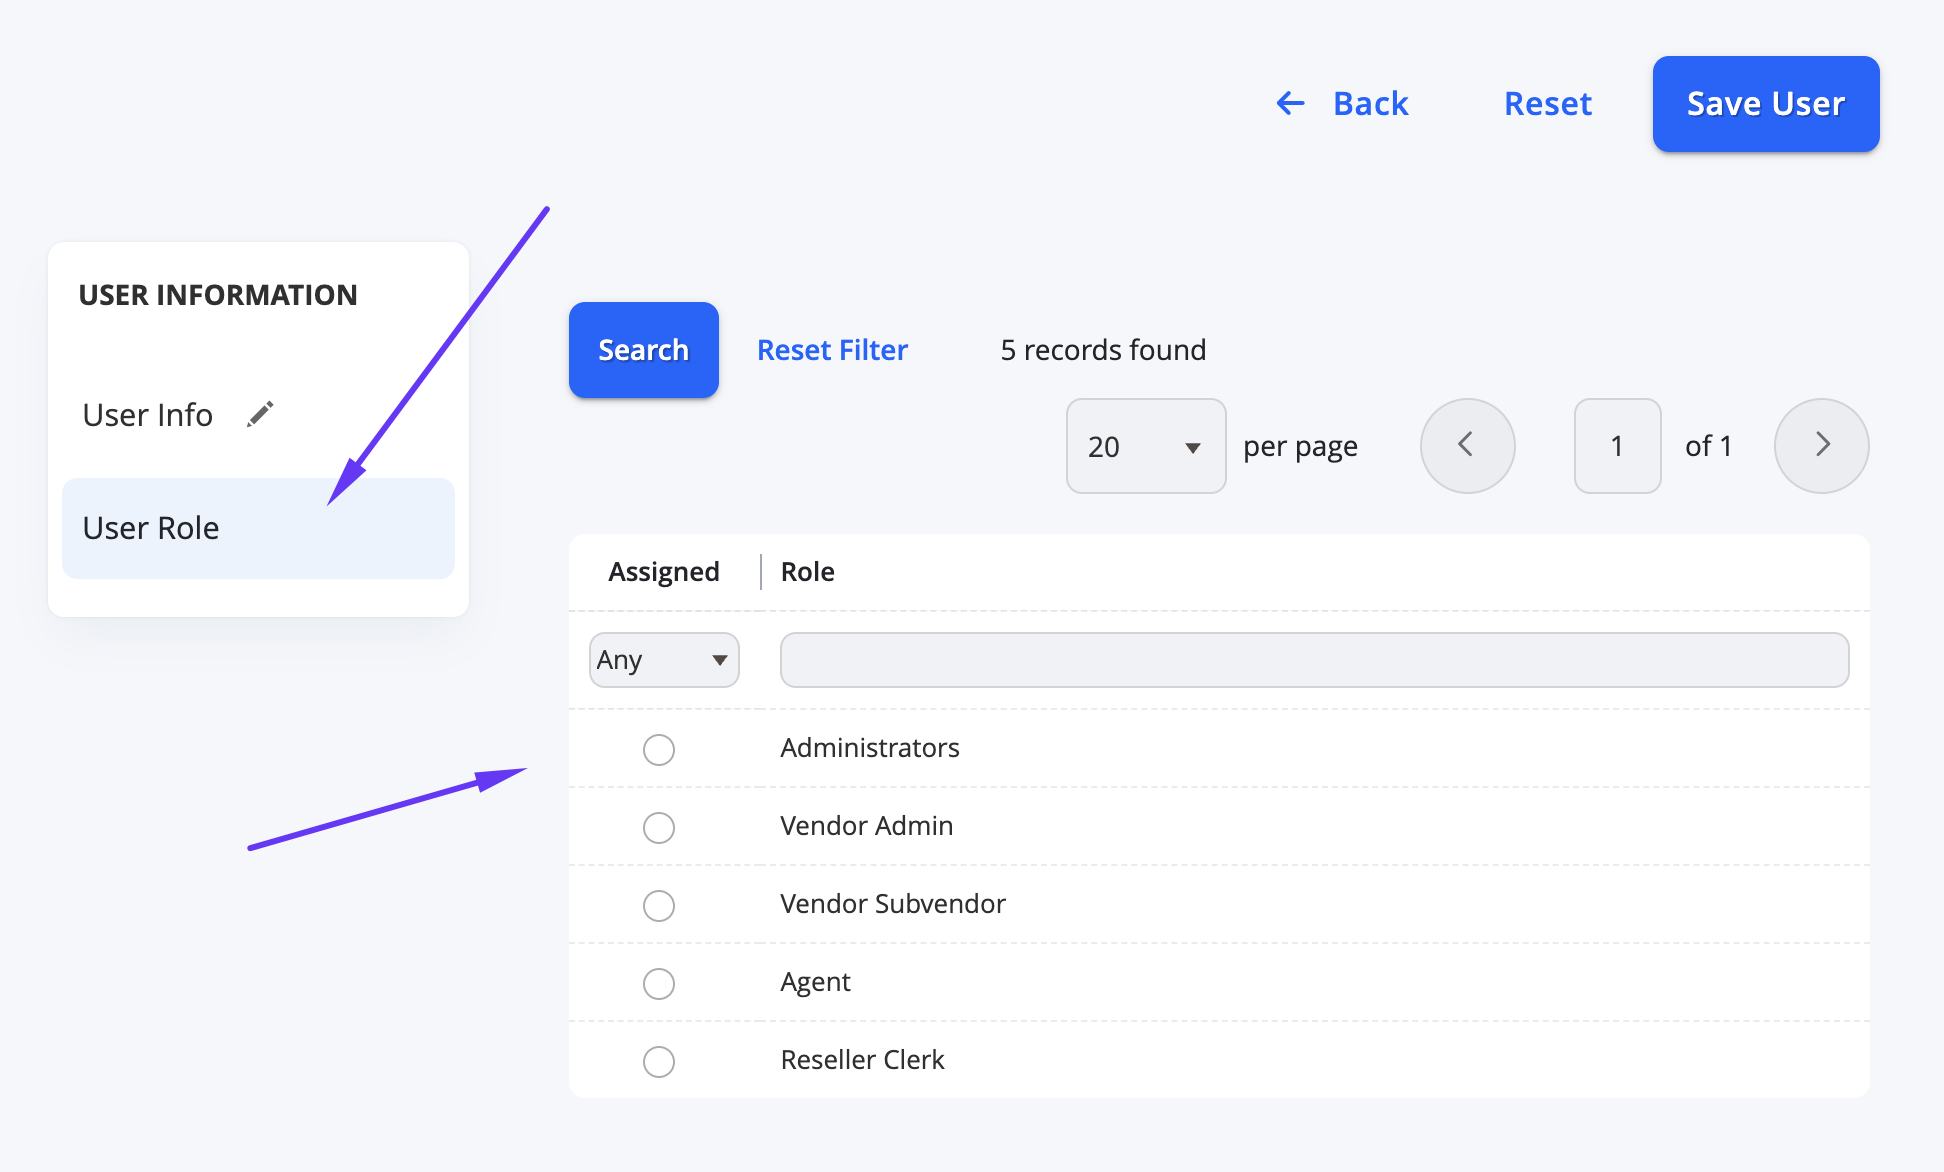
Here you can choose which User Role this account is. Generally there are 2 default roles created:
- Administrator - This role is a full access role which allows you to make changes to configurations, content and has the ability to see other vendor's details.
- Vendor Admin - This user role is specifically used for the vendors to be able to access the back end, however this will be limited to only having access to their own orders, vendor details and necessary details related to fulfilment.
- Additional Roles - Custom User Roles can be selected here once created by a Marketplace Owner.
Once selected, you can select Save User button from the top right to complete the set up of this account.
Now you can provide the login details to your new user. Ensure you also provide the Admin Portal URL to login with. It is a good idea to test these login details before providing it to the user, to ensure the details are correct.
Changing Vendors Passwords
With vendor users, their accounts are automatically created upon approval of registration based on the information they used to sign up (including subscription plan user role) - so you will not need to create an account for them manually. You can however provide them with a specific password (or modify their login details) if you need to, prior to giving them access to the account.
-
When logged in as a Marketplace Owner, use the left menu to navigate to System > Permissions > All Users (as per above).
-
Here you can select the particular user you would like to edit. Generally vendor user names are the email addresses. You can also filter from the top of the table (such as for Role). Simply click on the user row to load their details.
-
The fields will be populated automatically from the registration information. Mostly you may just need to manage the password fields and verification of your own password to save the changes.
-
Once input, select Save User at the top right.
- Provide the updated login details to vendor. Ensure you also provide the URL to log in to the platform with. It's a good idea to test these login details before providing it to the user, to ensure the details are correct.
NOTEYou can also use this method if the Vendor cannot login, and are unable to use the Forgot Password feature to reset their password via email address.