Setting the Porto Theme
By default, a blank Omnyfy Install will not have a theme applied to it. You will need to apply the Porto theme through another section of the Admin Portal. You can do this by navigating to Content > Design > Configuration.
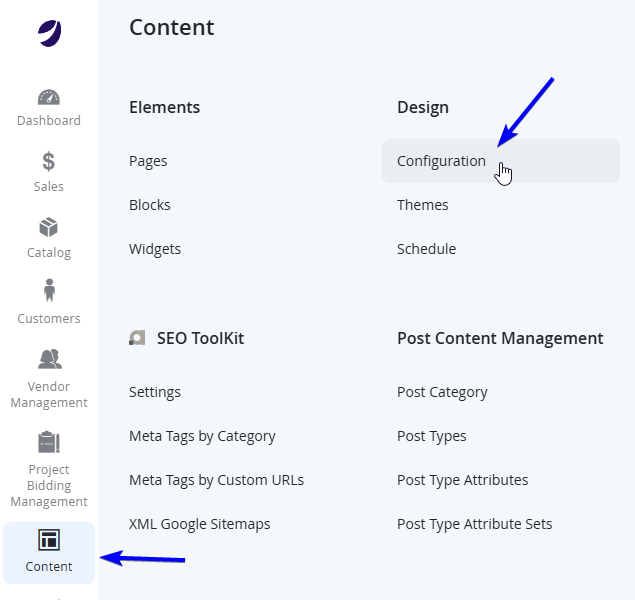
Here you will see at least 3 records (which goes in line with the scope - see {-- LINK HERE --} ). You will want to edit the bottom record (with a Store and Store View applied). Select Edit. If you have more than 3 records, you will always want to modify the record that has the Store and Store View populated for that particular website.

Once you reach the new page, you will then need to choose Smartwave Porto as the Applied Theme.
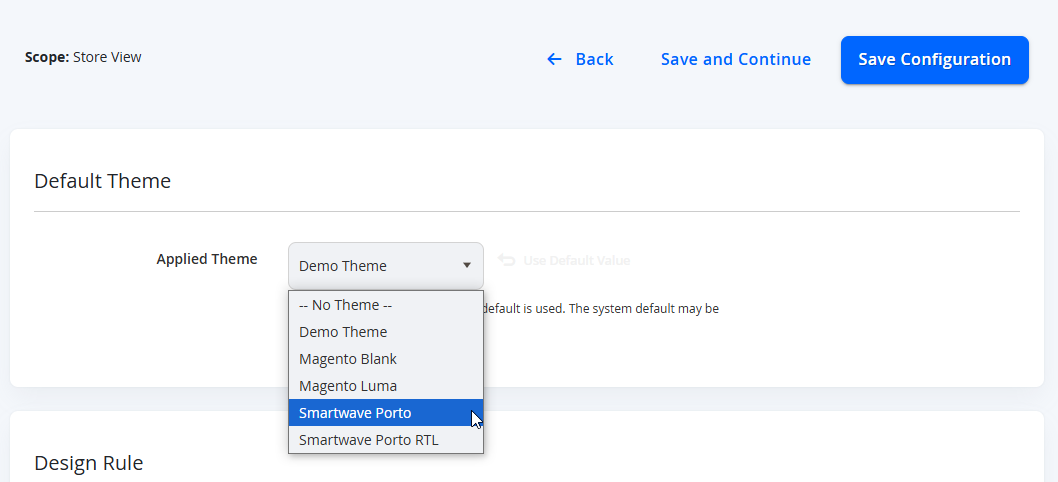
NOTE:Smartwave Porto RTL is the Porto Demo but with the reading direction, from Right to Left. This is used in certain countries that read information from right to left (such as Middle Eastern countries).
Once selected, click on Save Configuration on the top right to apply the theme (you can come back here later to configure the rest of the design to your liking). Ensure your cache is cleared, and you should see your new theme applied to your marketplace, based on the demo you activated.
NOTE:You can develop your own custom child theme based off the Porto Demo, with the parent of this custom theme to be Smartwave Porto (or Smartwave Porto RTL if applicable), to tweak/personalise your design. You can then select this custom theme in the Applied Theme field.
You can continue to configure the remaining fields in the Porto - Settings Panel and the Porto - Design Panel from the Stores > Settings > Configuration page, or remain in the Design > Configuration section, however at this point it would be easier to include content (dummy content for Vendors, Products and other Marketplace Configurations) so you can see the changes in the fields and what it affects. You can alter the Blocks and CMS pages after the import if needed.
You can view the other Theme Updates here {-- LINK HERE --}