Catalog Settings
This can be found from the Catalog menu item of the Catalog Configuration.
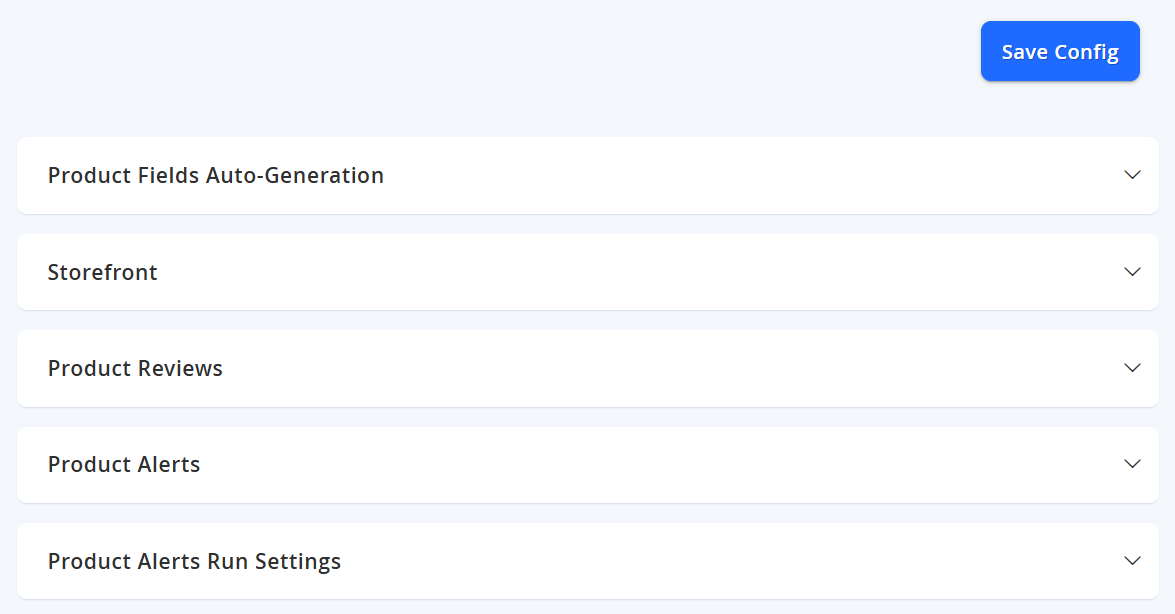
There are a lot of configurations available, however we will cover the main settings for now. The other fields can remain as default.
NOTE:If you are using Glyde to display your front end, some configuration here may be altered by Glyde Studio instead.
Storefront
| Field Name | Notes | Scope |
|---|---|---|
| List Mode | Sets the format for the display of products:
| Store View |
| Products per Page on Grid Allowed Values | Depending on the design that you select for your marketplace you can choose multiples of the columns (e.g. if 4, then use 14,24,32 etc) if 5, use 10, 25,50 etc) | Store View |
| Product Listing Sort By | Defines the default sort of all products in the catalogue | Store View |
| Allow All Products Per Page | Displays All products in catalogue on one page. Please leave this to No . Setting this to Yes may cause significant performance degradation on the site. | Store View |
Product Alerts
| Field Name | Notes | Scope |
|---|---|---|
| Allow Alert When Price Changes | Set to Yes to allow customers to be notified if there is a price change | Store View |
| Allow Alert When Product Comes Back in Stock | Set to Yes to allow customers to be notified if an "Out of Stock" product is back in stock | Website |
Product Image Placeholder
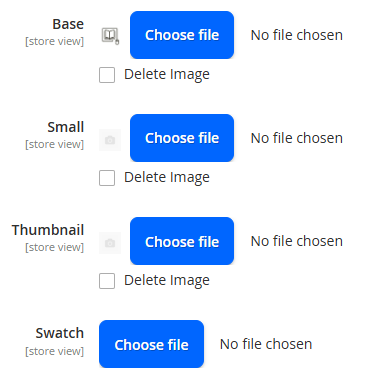
Please ensure that these images are changed when setting up your marketplace to ensure that if a product image is not showing that a branded placeholder image will be displayed.
Recommendation: Use an 800x800px square placeholder image such as the one below and upload it for all placeholders.

Right-click on the image above and click Save Image As to download a copy to your own computer.
Other settings on this page may remain at their default values, unless you wish to modify more advanced settings and have the requisite knowledge to do so. Select Save Config from the top right when configuration is complete.