Fuse UI - Mapping Brands
NOTEThe Brands Product Attribute needs to be set up and configured first, before you can map this data in a store. See our guide here: Creating a Brand Attribute for Mapping
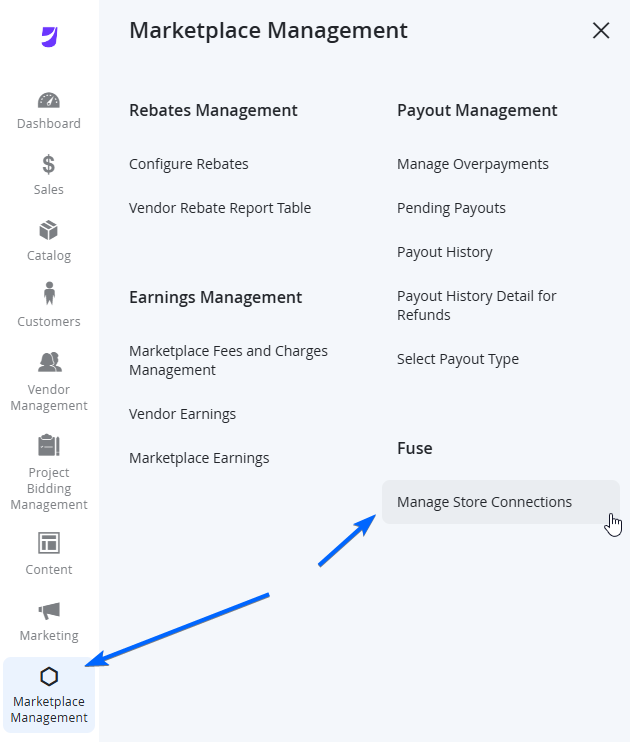
To map a Vendor's Store Brands attribute with the Marketplace, navigate to the Vendor's row in the Manage Store Connections page and from the Actions column to the right of the grid, choose Select > Map Brands.

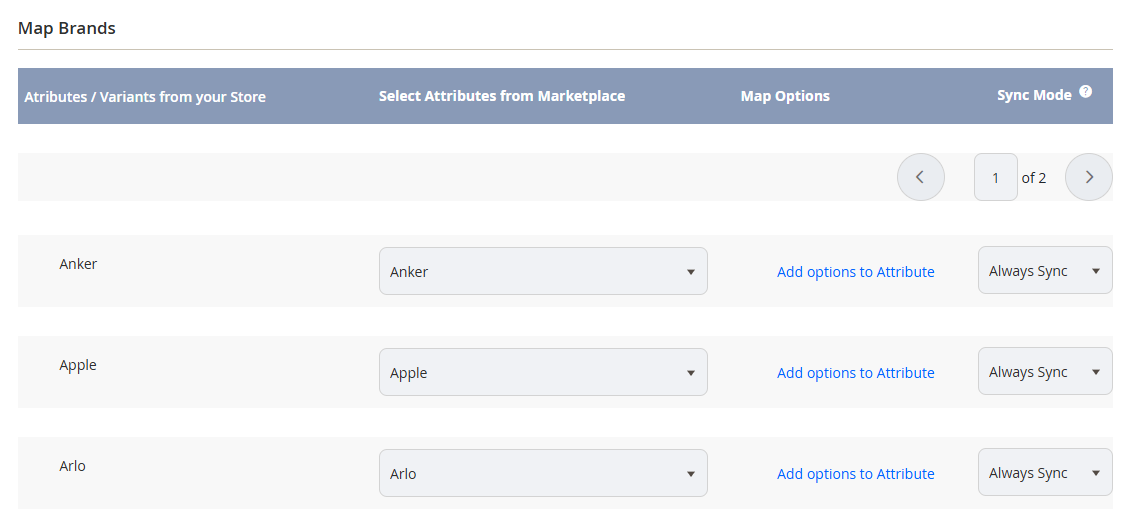
If the Vendor is connected successfully, you will see all the available brands from the store will be loaded in the left column from the main section, and the mappable options on the right. You will also see pagination at the top and bottom of every grid if applicable.
| Column Name | Notes |
|---|---|
| Attributes / Variants from your Store | This column will show all Brands identified and synced from the origin Store. |
| Select Attributes from Marketplace | This column allows you to choose which Brand on the Marketplace this row should be mapped to. |
| Map Options | If the Brand cannot be found from the dropdown, you can select the Add options to Attribute to add the value in the dropdown and map it. |
| Sync Mode | Select the Sync Mode for this specific Brand.
|
NOTEIt may take time to load all Brands from the store, if there a lot of Brands to sync across.
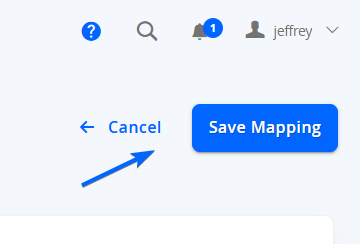
When done mapping, select Save Mapping on the top right of the page to go back to the Manage Store Connections page. Selecting <- Cancel will not save any changes and take you back to the previous page.