Managing Categories
Product categories define how the products will be divided inside the store, and how the structure will appear on the main menu or top navigation of the store. Every product should have at least one category to display on the categories section.
The root category appears as the top tier, and subcategories can be added. Usually, the first level of sub-categories is the one that appears on the main menu, and any subcategory created from that will be on the dropdown list.
Creating a Category
-
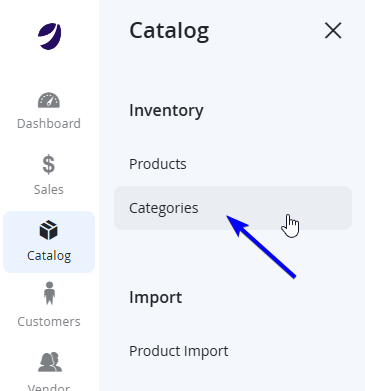
Log in to Admin Portal, and on the left menu sidebar, navigate to Products > Inventory > Categories.
-
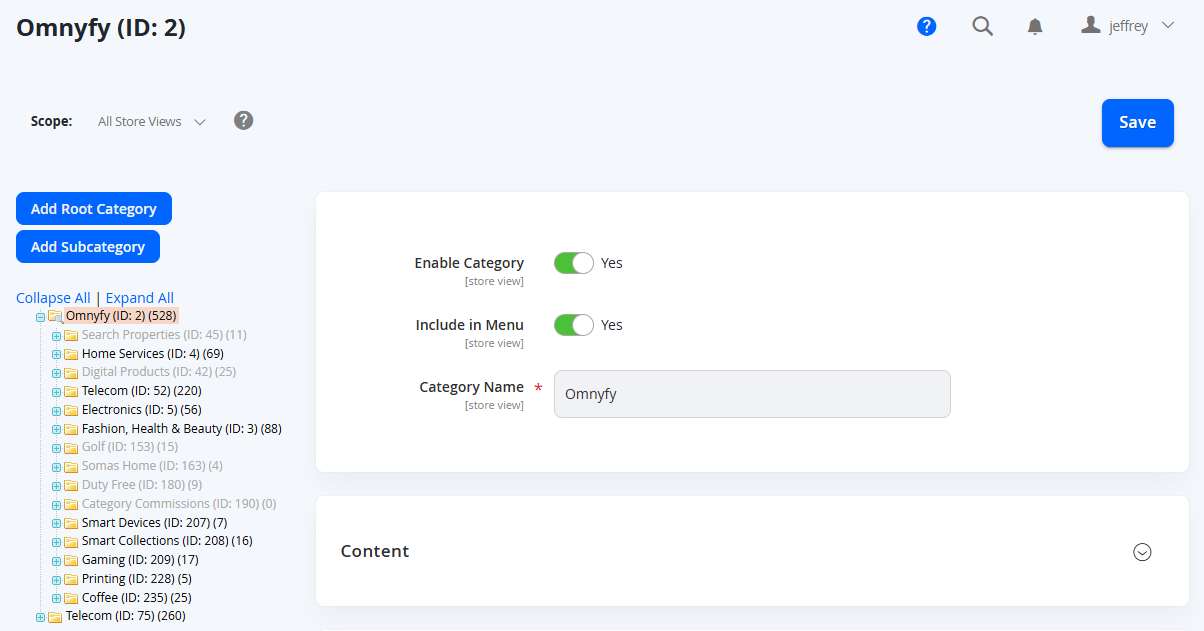
This view will display all categories available, depending on the store view.
-
Different stores can be managed at the same backend, being divided by root categories.
For Example: Marketplace 1 Categories (Omnyfy) and Marketplace 2 Categories (Telecom) represent two different stores. Each store has their own set of categories that can be individually managed. You can select individual store views to see that specific category tree, or by default you can see All Store Views. Ensure you have the correct scope selected.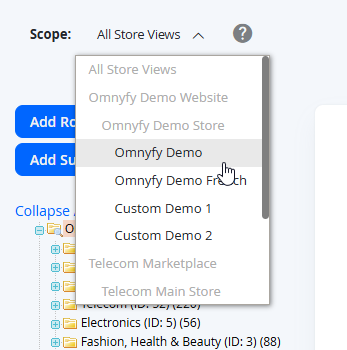 NOTE:
NOTE:All fields are scoped with Store View.
-
To update an existing category, click on the category from the list. To create a new sub category, click on the parent or root category of the Add Subcategory.
Example: To create a new category inside Home Services, click on Home Services as the first step and choose Add Subcategory.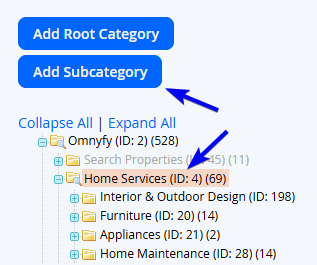
-
Enter the new Category information.

Field Name Notes Enable Category Select Yes to make the category immediately available at the store Include in Featured Menu Include in Menu Select Yes to include the category in the menu navigation Category Name Sets the name for the Category
Category Additional Information
The following information will be optional, depending if you are showing information for customers or using certain features.
Content
| Field Name | Notes |
|---|---|
| Thumbnail | Sets the thumbnail image for the category |
| Category Image | Sets an image to be displayed at the top of the category pages |
| Description | Enter the text that you want to appear on the category landing page and format it |
| Secondary Description | |
| Add CMS Block | To include a content block on the category landing page, choose the CMS Block that you want to appear. |
Category Commission
| Field Name | Notes |
|---|---|
| Category Commission Percentage | Enter the decimal number. For example: 10.50 for 10,5%, for the commission rate that will be applied for the products of this category. Please note, do not enter the percentage sign. |
Display Settings
| Field Name | Notes |
|---|---|
| Display Product Categories on Vendor Storefront | |
| Display Mode | Sets the display mode from Products Only, Static Block Only and Static Block and Products. |
| Anchor | Dictates whether to include the “Filter by Attribute” section of layered navigation on the category page. |
| Available Product Listing Sort By | Sets the product attributes used for sorting filters that will be available for customers to select. |
| Default Product Listing Sort By | Sets the default attribute for sorting products for customers on the front end. |
| Layered Navigation Price Step | Enter the value to be used as an incremental price step for layered navigation |
Search Engine Optimisation
| Field Name | Notes |
|---|---|
| URL Key | The online address of the category page. Please note, the URL Key cannot contain spaces, suffix and needs to be lowercase. Note that for Glyde, this will be prefixed with /category/ |
| Meta Title | The title of the browser tab, title bar and also used on search engine results page |
| Meta Keywords | Relevant words that customers might use to find the category |
| Meta Description | An overview of the page, which can appear as the description on search engines |
Products in Category
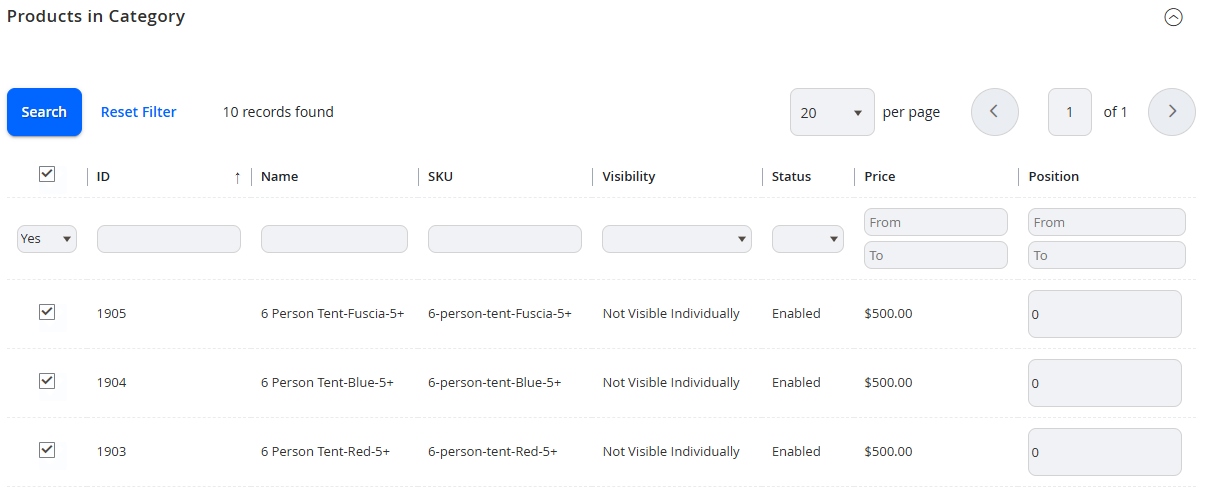
This section displays the products in this category. To include a product in the category, you can search from any of the filters from the top (selecting Search from the top left of this section), and simply select the tick box on the left of the product row. This will include this in the category after you select Save.
Other design settings on this page may remain at their default values as they are not used/relevant for the most part. Select Save from the top right when configuration for the category is complete.
Updated about 1 year ago